
Disclosure: This site may use affiliate links. Product specifications should be checked against manufacturer or retailer pages before purchase.
Direct Answer
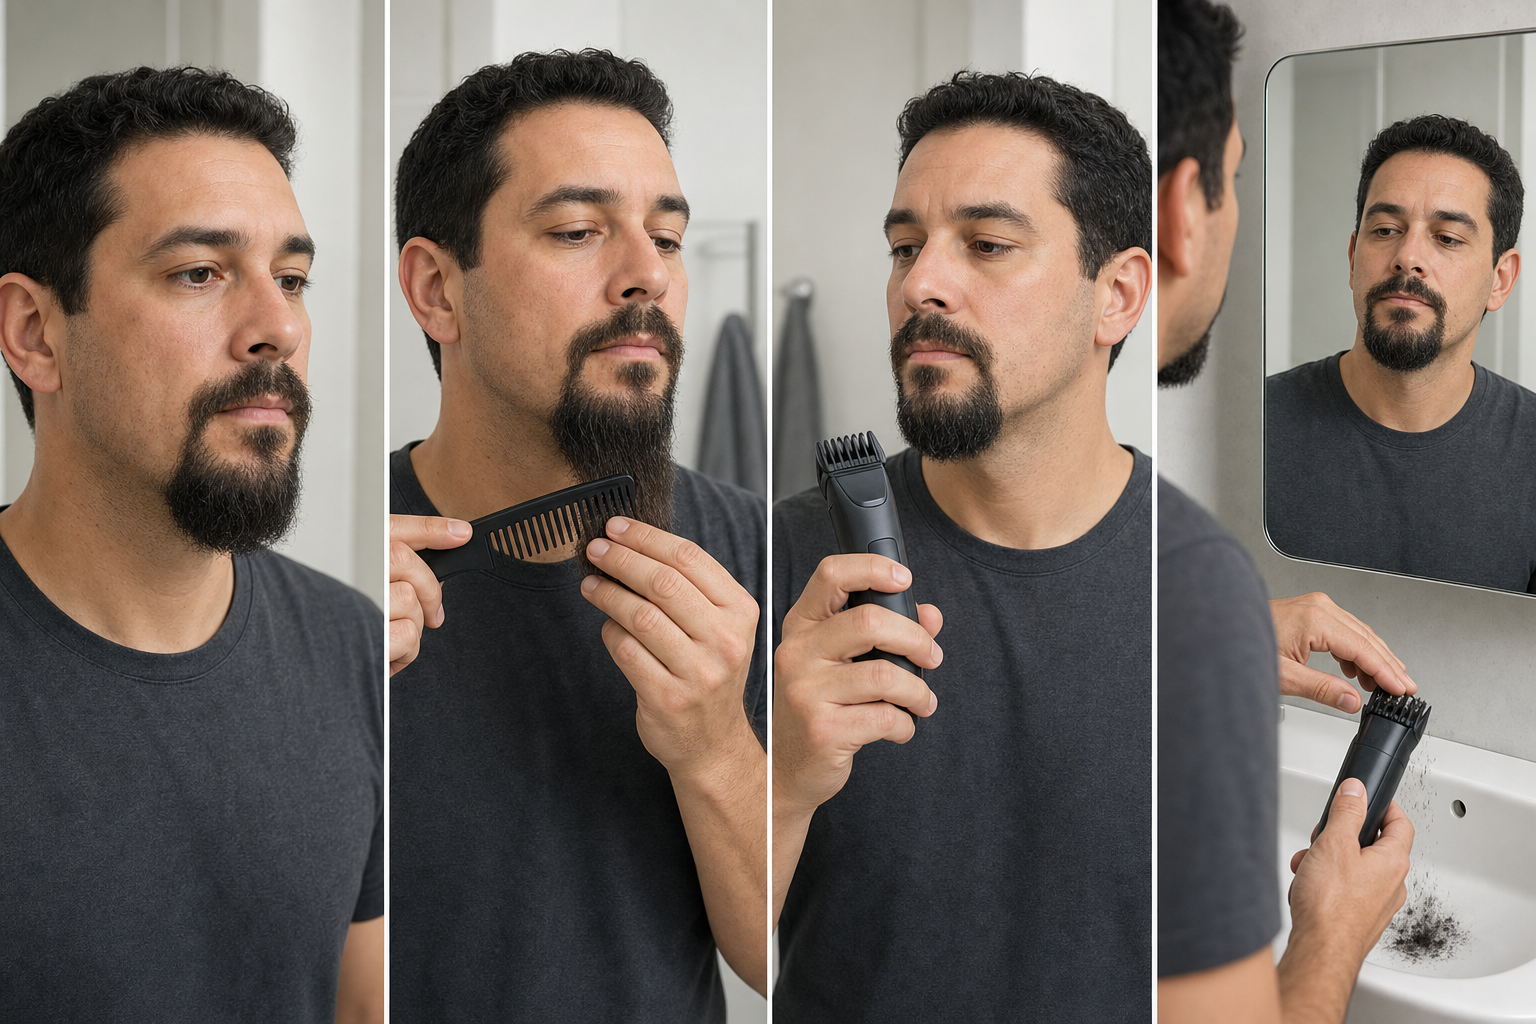
Direct answer: Reduce avoidable pulling on a coarse goatee by establishing its natural dry rest, steadying narrow sections, organizing each from tip toward root, recording local direction, and fitting a longer verified guard. Plan a short visible route, perform one light manual-supported pass, shut down, remove trapped clippings, restore the full shape, compare, and end immediately when resistance appears.
This controlled goatee workflow cannot promise that resistance will disappear. It does not assign a universal softening product, attachment, cutter, motor, travel direction, contact force, speed, repetition limit, or finish. Strand stiffness, density, curl, crossings, residue, head condition, and power behavior must be observed independently.
Coarse-Goatee Decision Table
| Observation | First response | Do not do |
|---|---|---|
| Comb stops before reaching the target | Support the section and work from the free ends | Pull the comb or stretch the hair straight |
| Many hairs enter the guard at once | Reduce the section and shorten the visible path | Push the tool through the complete chin |
| Clippings bridge the guard teeth | Lift away, switch off, and clear as directed | Add pressure or continue through packed hair |
| The same area snags after a full reset | Inspect attachment, cutter, care, power, and direction | Lower the guard to overpower resistance |
| Sound, speed, heat, odor, or vibration changes | Stop power and remove the tool from service | Diagnose a live tool against the face |
Separate Coarse Hair From Other Variables
“Coarse” describes how individual strands may feel or behave; it does not prove high density, curl, dryness, damage, or a required cutting system. A compact goatee can contain coarse central chin hair beside finer connectors, or dense hair that is not especially coarse.
Describe the actual resistance. Is the comb stopped by a crossed section? Does the guard pack only at the central chin? Does one connector change direction? Does the trimmer slow even when tested away from hair? Naming the observable variable prevents texture from becoming an explanation for every problem.
Keep This Task Goatee-Specific
A goatee concentrates several structures around the mouth and chin rather than behaving like a medium beard with empty cheeks. The under-lip patch, two connectors, central body, outer panels, bottom arc, and neck transition are close enough that a wide or hidden stroke can cross multiple landmarks before resistance is located.
The coarse medium-beard guide owns cheek, jaw, under-jaw, outer-layer, and underlayer bulk. This page instead uses smaller mouth-and-chin sections, shorter exits, protected connectors, and a full goatee release after every target.
Establish the Natural Dry Rest
Use the goatee preparation workflow to undo compression, remove obstructive residue, follow the exact wet-or-dry rule, and wait until every goatee zone rests freely. In a dry guarded routine, any dampness, coating, finger tension, or comb pressure invalidates the length reference.
Philips’ uneven-trim support guidance tells users of covered groomers to use completely dry hair, check attachment fit, avoid hard pressure, and consider direction. Treat that as model-family evidence; the exact manual for the tool in hand still controls.
Record the Existing Goatee Structure
Photograph the dry released goatee from front, both three-quarter views, profile, and underside under consistent light. Mark the accepted outer width, under-lip patch, connector paths, central projection, lower edge, and neckline. These landmarks are exclusions unless one is the explicit target.
Pulling prevention should not become an unplanned redesign. If the intended work moves the sidewall, connector, lowest chin point, lower arc, or neckline, stop and plan a separate shape session.
Map Seven Small Working Zones
Divide the goatee into mustache, left connector, right connector, under-lip patch, central chin, left outer-chin panel, and right outer-chin panel. Record the lower-edge and neckline transition as protected boundaries rather than additional bulk zones.
Trace hair to its root zone because a long central or connector strand may rest over another panel. Never trim hair at the place where its end happens to lie. A compact map keeps the cutter path from combining different directions and structures.
Map Local Grain After Release
Guide each zone once along its observed direction with a suitable comb, set the comb down, and watch where the hair returns. Central chin hair may fall downward while outer panels angle inward or outward and connectors travel diagonally.
The goatee grain guide owns the complete direction-mapping method. Here, grain is used only to keep one coarse section from entering the guard across several opposing directions at once.
Support and Detangle From the Free Ends
With clean fingers outside the future cutter route, steady one narrow section close to the area being organized. Start at its loose tips, move the comb inward a small distance, and pause whenever movement changes. Separate the crossing locally and let the group relax before another comb movement.
Do not pull from the skin, rake the complete chin, or stretch hair straight to make it look easier to cut. Final length must be judged after the section returns to its natural dry position. Persistent pain, unexplained breakage or shedding, or skin symptoms ends the grooming session.
Protect the Under-Lip Patch
The under-lip patch may be narrow, offset, separated from the chin body, or connected by a small bridge. Comb and release it separately. Exclude it from the first coarse-hair test unless one projecting group inside the patch is the documented target.
Do not use a wide pass that begins in the patch and continues into the central chin. That mixes two structures, reduces visibility near the lip, and makes a snag difficult to locate.
Protect Both Mustache Connectors
Follow each narrow bridge from its lip-side root into the corresponding outer chin panel. Those hairs may rest across the mouth corner and enter an attachment intended for the chin. Do not pin them against a moving cutter; return them to rest and confirm their source before switching on.
If a connector needs shortening, treat it as its own later target. The goatee mistake-prevention guide explains why capturing connector hair during a chin pass can change continuity rather than merely reduce bulk.
Preserve the Central Chin Anchor
Measure the central body’s resting width and note its lowest natural endpoint. Stiff strands may project as one group, yet this same area supplies vertical continuity. Isolate only the documented excess group and exclude the rest of the center.
Do not drive one guard upward across the lowest point and into the under-lip patch. Stage the central target so its entry and exit remain visible, and keep both outer panels untouched for the first comparison.
Keep Lower Edge and Neckline Out of the Pass
Mark the accepted lower arc and neckline transition before choosing a path. A guard intended for internal length should leave the clear-skin side of those boundaries. Bare-cutter outlining and regrowth cleanup are different tasks.
Use the goatee edge-cleanup workflow only for a traceable outlier rooted on the clear-skin side of an accepted line. Do not sharpen an edge simply because internal coarse hair resisted a guard.
Inspect the Cutting System Away From the Face
Before the head or attachment is handled, put the control at off and remove any charging connection. Use only the documented dry-debris step. Under bright light, examine tooth edges, the moving-to-fixed cutter relationship, head mount, attachment tracks, latches, adjustment mechanism, fractures, corrosion, deformation, and trapped hair.
Apply no liquid or lubricant unless the model instructions specify it. If those instructions allow a brief free-running check, keep the tool clear of the face and end the check for altered pitch, speed fluctuation, vibration, smell, warmth, looseness, or cutter contact. A sectioning method cannot repair an unstable head.
Verify the Exact Guard and Setting
Match the attachment to the complete model and regional variant in the manufacturer’s documentation. Verify its length mark, correct face, mounting sequence, latch engagement, adjustment travel, and named cutting head. A number printed on one guard system does not define another system’s result.
The goatee guard guide uses retained length as the first constraint. Identify the shortest naturally resting hair that must remain, then begin with a documented option that cannot intentionally cut below it. Reject an attachment that needs tape, fingers, or force to stay seated.
Select One Low-Visibility Test Section
Choose one small coarse section within the lower outer-chin panel or another mapped excess area, away from the mouth corner, connector, under-lip patch, lowest chin point, lower edge, and neckline. Keep every neighboring zone as an untouched reference.
The bounded goatee touch-up guide supplies the scope rule: one target, one verified setting, one short path, one release, and one comparison. A resistance test is not permission to trim the complete goatee.
Rehearse the Path With Power Off
Keep the guarded tool powered down and separated from skin while marking where the route begins, where it remains visible, where it exits, and how it clears lips, mouth corners, bridges, bottom arc, and neck. Position the supporting hand outside that corridor.
Reduce the target if the guard would collect two zones, disappear below the chin, cross a boundary, or require skin stretching. Rehearsal confirms visibility and scope; it does not predict a pull-free or safe result.
Feed One Small Released Section
Present only the chosen resting section to the attachment; do not gather the whole outer panel in front of the teeth. Copy the approach, orientation, contact method, and travel described for the exact model, keeping the attachment stable without extra force.
Do not hold hair taut against the cutter or press the section toward the tool. If the next hairs come from another zone or direction, end the path and lift away before they enter.
Make One Short Visible Pass
When the setup is permitted by the model instructions, make one light pass through the selected test section with a visible exit. Do not pause a running cutter in dense hair or continue around a corner after the planned endpoint.
Philips’ OneBlade trimming guidance illustrates correct comb seating and model-specific contact for covered devices. It does not establish the same direction, force, or angle for another tool.
Respond to a Snag Without Force
At resistance, lift away without pushing forward, switch off, and wait for all movement to stop. Release the hair and inspect whether a knot, crossed strand, oversized section, packed guard, changed direction, or boundary caused the stop.
Never pull a live tool out through trapped hair, add pressure, shorten the setting, or repeat the same path automatically. If the tool cannot be removed without discomfort or damage, follow the manufacturer support route or seek qualified assistance.
Clear the Guard Before It Packs
Stiff cut strands can span several comb openings or lodge behind the attachment. Once the test path ends, shut the tool down and remove visible debris by the documented method. Before another trial, reinstall the guard from the beginning, recheck the length mark and latch, and look through the cutter area.
Complete end-of-session maintenance belongs in the cleaning and oiling guide. This intermediate reset has one purpose: prevent the next section from being evaluated through an attachment whose open area has already changed.
Restore the Full Shape Before Reviewing
Return each mapped region once toward its recorded resting direction, remove the comb, and allow the mouth patch, bridges, center, outer panels, bottom arc, and neck transition to relax together. Recreate the original camera views and lighting only after no hand or tool is shaping the hair.
Do not assess a section that remains supported, extended, attachment-compressed, or visually separated from the whole. Begin from ordinary viewing distance and use a close check only after the complete silhouette has been considered.
Diagnose Repeated Resistance
When resistance returns after hair and equipment have both been reset, audit the section width, crossings, local direction, attachment obstruction and mounting, cutter cleanliness and damage, specified care, charge or supply stability, sound, warmth, and route. Record the first abnormal item instead of assuming texture caused it.
Use the trimmer-pulling troubleshooting guide when the cause remains unresolved. A stronger motor label, blade coating, professional claim, price, rating, or new accessory does not prove that an exact tool and setup will avoid pulling.
Change One Variable Only
After a complete reset, choose at most one justified change: reduce the section, use another manual-supported direction, or return to a longer verified setting. Keep pressure, target, and protected landmarks unchanged.
Do not change guard, direction, section size, pace, and pressure together. If the result cannot be observed before another cut, there is no controlled basis for continuing.
Keep the Mustache a Separate Session
Coarse mustache hair sits close to lips, nostrils, and connector roots and may require different attachments or methods. Do not extend a successful chin setup upward without a new map and exact-manual review.
The coarse mustache guide owns lip clearance, mustache combing, segment control, and mustache-specific stop rules. Similar texture does not make the two structures interchangeable.
Use Strict Pass and Session Limits
For the selected target, permit one initial observation, one complete equipment-and-hair reset, and no more than one correction supported by that evidence. Needing another zone, a lower setting, a moved boundary, or another repetition closes the session.
Philips’ groomer irritation guidance warns users of covered products against excessive repetition and pressure. Any discomfort ends contact; it does not justify treating stiff strands more aggressively.
Stop for Tool, Skin, or Hair Concerns
End power use after a second snag, a stall, tooth damage or contact, loose mounting, attachment movement, setting drift, an unfamiliar sound or speed, vibration, smell, warmth, smoke, swelling, leakage, unstable supply, damaged electrical parts, or liquid contact beyond the exact rating.
Do not trim across pain, a break in the skin, bleeding, swelling, inflammation, or active irritation. Unexplained shedding, concerning new loss, a hidden route, or a plan that can continue only by sacrificing protected hair also closes the session. Grooming cannot diagnose or treat the underlying issue.
Record the Setup and Released Result
Log the exact tool, head, guard, setting, preparation state, zone map, protected landmarks, test section, path, direction, resistance observation, clearing step, released result, and stop reason. Keep unedited matched photographs.
Limit conclusions to that session. The record cannot prove pull-free operation, safety, comfort, cutter performance, ideal length, symmetry, professional suitability, or the result another person will obtain.
Coarse-Goatee Checklist
- Coarse texture is separated from density, curl, tangles, residue, and tool condition.
- The goatee is prepared according to the exact wet-or-dry rule and fully released.
- Under-lip patch, connectors, central chin, outer panels, lower edge, and neckline are mapped.
- Small sections are supported and combed from the free ends without final-length tension.
- Local grain and root ownership are confirmed.
- The cutting head, guard, setting, care, and power checks pass away from the face.
- One longer verified guard and one low-visibility target are selected.
- The short entry and exit path is rehearsed with power off.
- Only one released section enters one light manual-supported pass.
- Resistance causes lift-away, power-off, release, and diagnosis without pressure.
- The guard is cleared before visible loading changes the next test.
- The complete goatee is released and reviewed before any correction.
- Only one variable may change after a full reset.
- Repeated resistance, tool change, skin concern, or scope expansion ends the session.
Frequently Asked Questions
Why can a trimmer pull a coarse goatee?
Resistance can come from tangled or crossed hair, too much hair entering one pass, a packed guard, an incorrectly fitted attachment, damaged or poorly maintained cutters, unstable power, pressure, or an unsuitable path. Stop first and identify the variable.
Should I soften a coarse goatee before trimming?
Do not assume water, oil, conditioner, or heat is universally required. Follow the exact tool and product instructions. For a dry guarded method, remove heavy residue, dry fully, support small sections, and comb gently from the free ends before choosing length.
Which guard should I use for a coarse goatee?
Use only a guard documented for the exact trimmer. Protect the shortest goatee length you are unwilling to lose, begin at that setting or longer, and test one low-visibility outer-chin section before changing another zone or selecting a shorter guard.
What should I do when the trimmer snags?
Lift away without adding pressure, switch off, wait for movement to stop, and release the hair. Check tangles, section size, guard loading and fit, cutter condition, care requirements, power, and direction. Repeated resistance or any abnormal tool behavior ends the session.
Sources and Claim Boundary
- Philips uneven groomer-result guidance, consulted for dry preparation on covered products, attachment fit, pressure, and direction checks.
- Philips OneBlade trimming guidance, used only as a model-family example for correct comb installation, contact, and post-use care.
- Philips groomer irritation guidance, consulted for the boundary against repeated coverage and excess pressure on covered products.
- Beard trimmer pulling troubleshooting, used to route unresolved mechanical resistance outside this narrow goatee technique session.
Claim boundary: This page describes an exact-manual-bound preparation, sectioning, one-pass, clearing, release, and stop workflow intended to reduce avoidable resistance while trimming one mapped coarse-goatee section. It provides no pull-free, pain-free, comfort, safety, medical, hair-growth, density, blade, motor, guard, direction, pressure, pace, pass-count, performance, symmetry, professional, or result guarantee. The exact model manual and current tool condition control.
