
Disclosure: This site may use affiliate links. Product specifications should be checked against manufacturer or retailer pages before purchase.
Editorial update, June 18, 2026: This recovered page was rebuilt as a fit-check guide and avoids unverified model-specific part claims.
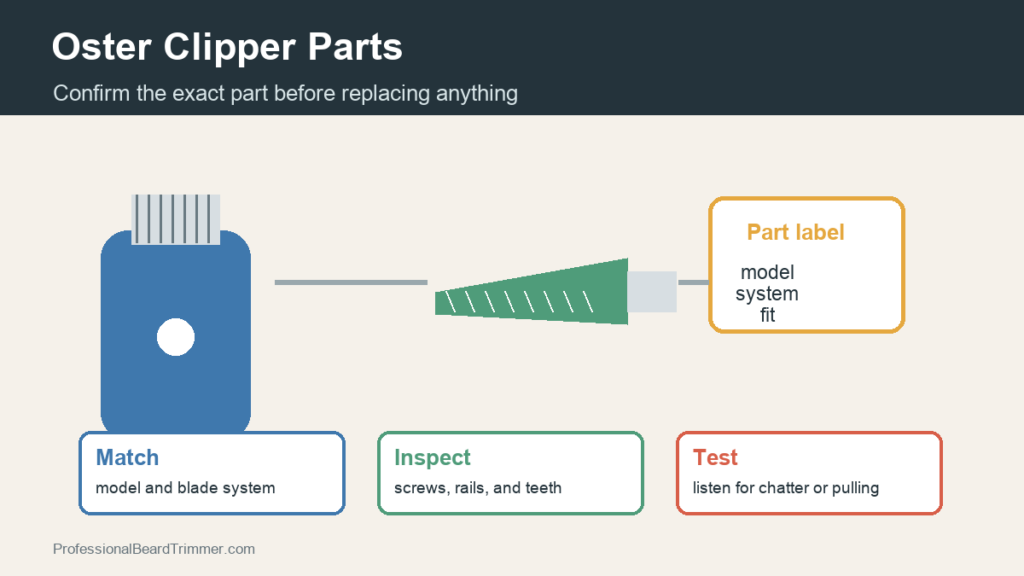
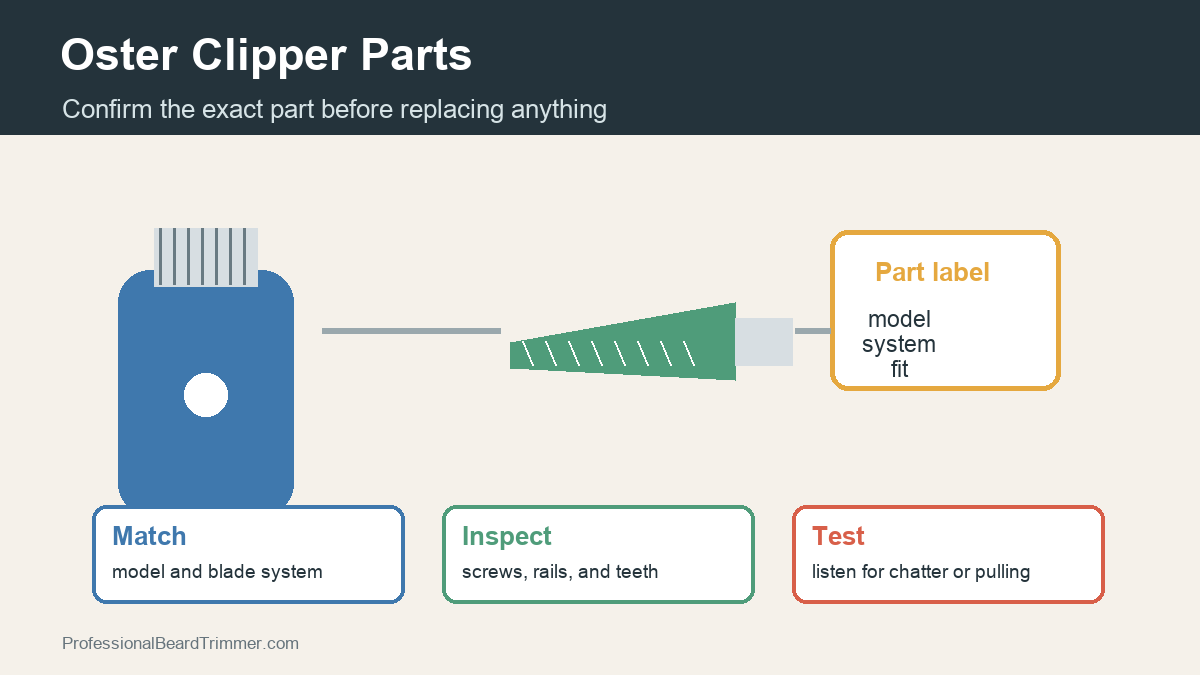
Direct answer: Oster clipper parts should be chosen by exact model, blade system, mounting shape, and the part label, not by brand name alone. Before replacing a blade, guard, cord, or screw, compare the original part, check the manual or package wording, and stop if the tool rattles, pulls, or heats unusually after installation.
Oster clipper part decision table
| Decision point | Use this rule | Why it matters |
|---|---|---|
| Blade set | Match the blade system and mounting pattern | A similar-looking blade can sit misaligned |
| Guard or comb | Check rail shape and snap fit | Loose guards can shift during a pass |
| Screw or small part | Use the correct size and thread | Wrong hardware can strip the housing or blade plate |
| Cord or charger | Match the exact electrical accessory listed for the tool | A wrong connector or output can damage equipment |
| After install | Run a short test away from skin | Noise, heat, or pulling means the fit needs attention |
How to check a replacement part
- Identify the model. Read the model label on the clipper and compare it with the part package or manual.
- Compare the old part. Check screw holes, rails, connector shape, and blade size before installing.
- Install without force. A part that needs pressure to fit may be the wrong part.
- Test briefly. Power the tool for a short check and listen for rattling or uneven movement.
- Stop if it pulls. Remove the part and recheck alignment if the tool pulls hair or feels hot.
Part-fit checklist
- Model label: The first reference point for choosing any replacement part.
- Mounting pattern: Screw holes, rails, and blade shape must line up cleanly.
- Manual or package: Use written compatibility information instead of guesswork.
- Short test pass: Confirms the part seats correctly before a full trim.
For related reference pages, compare the ceramic blade tradeoff guide, the blade sharpener decision guide, and the cleaning supplies checklist.
Frequently asked questions
Can any Oster part fit any Oster clipper?
No. Parts vary by model, blade system, connector, and mounting shape. Confirm the exact model and part wording before installing anything.
What happens if a clipper blade does not fit correctly?
A poor fit can cause chatter, uneven cutting, pulling, heat, or blade movement. Stop using the tool until the part is checked.
Should I replace screws with hardware-store screws?
Avoid guessing. Use hardware specified for the tool because thread, length, and head shape can affect alignment.
When should I replace instead of cleaning a part?
Replace cracked guards, bent teeth, stripped screws, damaged cords, or blades that still pull after proper cleaning and care.
