
Disclosure: This site may use affiliate links. Product specifications should be checked against manufacturer or retailer pages before purchase.
Direct Answer
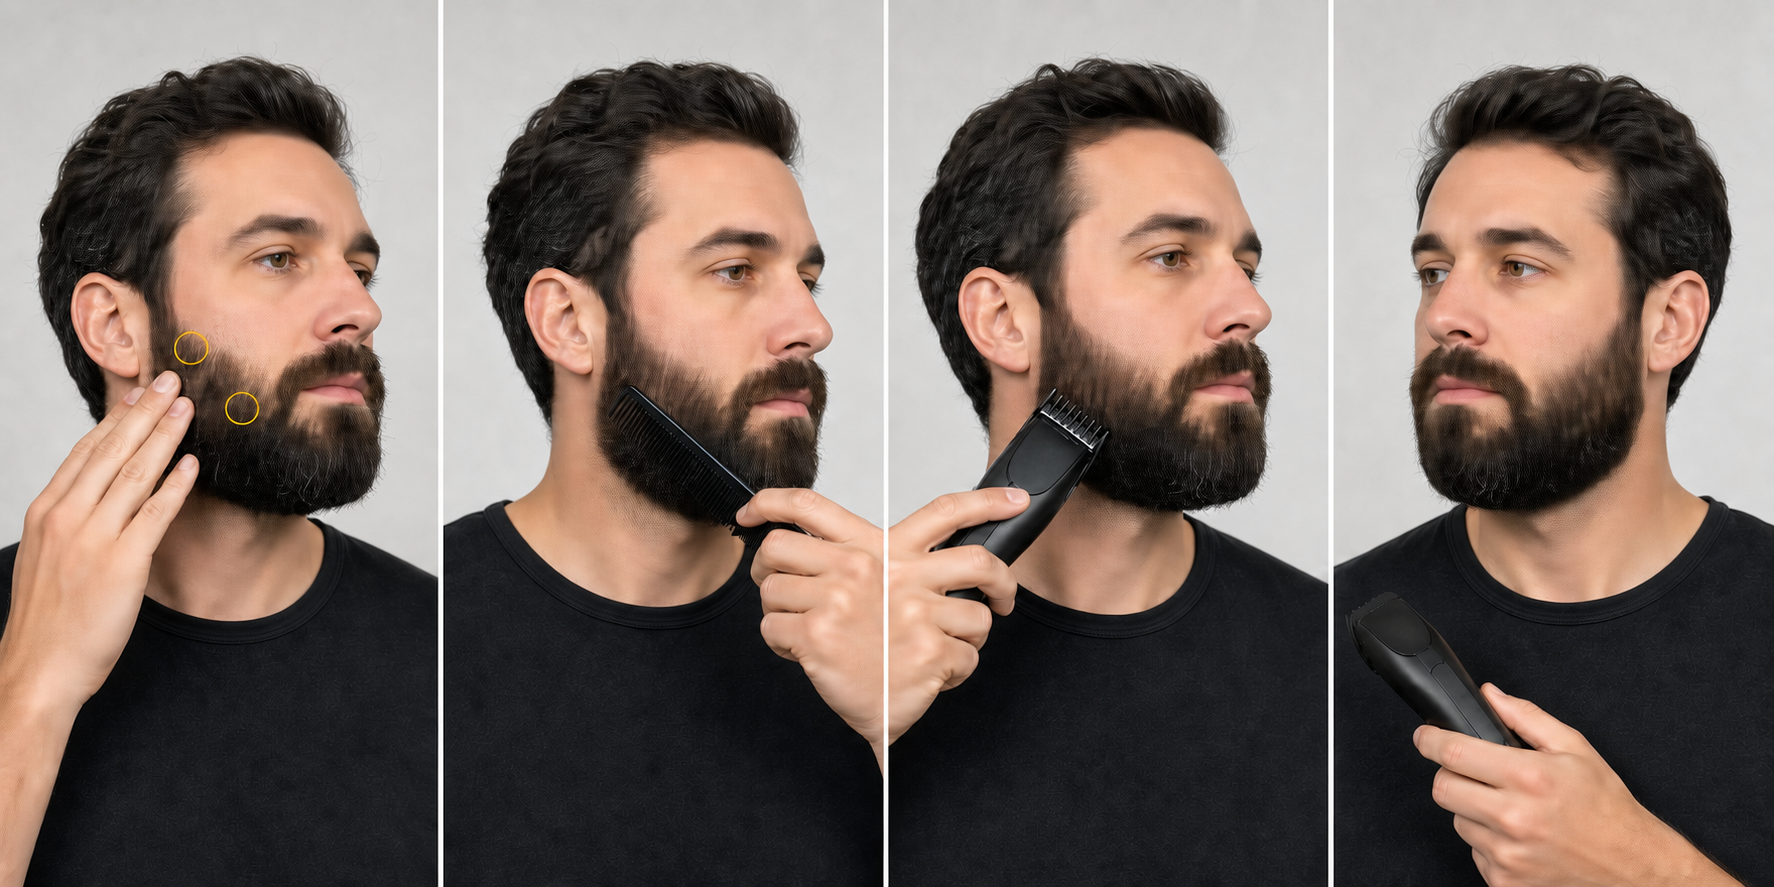
Direct answer: Touch up a medium beard by letting it dry and settle, recombing it into the usual shape, and marking only hairs or one small zone that still sits outside the silhouette. Reuse a verified longer guard and prior zone map, make one light pass, clear clippings, compare both sides, and stop before changing bulk length or boundaries.
This page covers limited maintenance between planned full trims. It does not repeat the complete medium-beard workflow, redesign cheek or neckline boundaries, promise symmetry, or recommend one setting, direction, pressure, or schedule for every beard and trimmer. Use the separate short-beard touch-up guide when the beard lacks the chin, jaw, and under-jaw structure addressed here.
Touch-Up or Full Trim?
| Observed issue | Touch-up is appropriate when | Plan a full trim when |
|---|---|---|
| Isolated flyaway | It remains outside the settled shape after recombing | Many hairs across the zone exceed the intended length |
| One fuller matched zone | Removable excess length is confirmed in a small area | Cheek, jaw, chin, and under-jaw lengths all need recalibration |
| Mustache interference | A few tips cross the documented lip boundary | The entire mustache length or style must change |
| Sideburn transition | One narrow connection has grown beyond the recorded blend | The haircut-to-beard transition requires a new gradient |
| Cheek or neckline edge | Only obvious regrowth outside an existing stable line is present | The boundary position is uncertain or should move |
| Overall beard feels large | Not a touch-up target | Bulk length and silhouette need a mapped full trim |
A touch-up preserves the previous structure. It should not become an unplanned shorter version of the full beard. When the issue cannot be described as one isolated hair group, one matched zone, or one existing boundary, stop and schedule the complete workflow.
Let the Beard Reach Its Normal Dry State
Water, heavy product, sleep compression, mask pressure, comb tension, and heat can temporarily change how medium-length hair groups or projects. Touching up that temporary shape can reveal a shorter or uneven result after the beard relaxes.
Establish a clean, fully dry, naturally settled baseline unless the exact tool and task specify another condition. Comb without pulling the beard straight. The medium-beard preparation guide covers drying, detangling, growth mapping, tool inspection, and target definition when more than a quick reset is needed.
Reset the Shape Before Marking a Target
Comb the beard down and outward in the direction normally used to wear it. Then use fingertips or a wide-tooth comb to release compressed sections around the jaw, center chin, and under-jaw. Step back from the mirror before deciding that a strand is truly outside the silhouette.
Loose clippings, curl, and overlapping hairs can imitate excess length. If the apparent problem disappears after the reset, the touch-up is complete without cutting. Do not keep searching for another target merely because the trimmer is ready.
Use the Previous Zone Map as the Boundary
Bring forward the last recorded cheek, sideburn, jaw corner, chin shoulder, center chin, mustache, under-jaw, and neck decisions. Mark which zones were intentionally fuller. Protect the center chin and jaw width when those areas define the medium-beard shape.
If no prior map exists, create one before cutting. The matched-zone comparison guide explains how to compare corresponding areas without treating natural density, curl, growth direction, or facial structure as removable length.
Match the Exact Tool and Recorded Guard
Read the complete model number and regional suffix, then match the intended head and guard to the manual. Confirm the actual millimeter or inch value. A guard number, color, or dial position from another tool is not the previous setting.
Use the recorded setting only when it remains longer than the shortest acceptable result for the target zone. When the prior setup is uncertain, begin longer and make a small test. The medium-beard guard guide covers exact-model identification, protected zones, and one-step calibration.
Inspect Guard, Blade, Head, and Power
With the tool switched off, inspect guard teeth, rails, locks, hinges, and adjustment controls. Confirm that the guard sits level and does not move under light inspection. Check blade teeth for chips, bends, corrosion, residue, impact marks, or visible contact, and confirm that the head seats securely.
Verify sufficient charge or the model’s documented power mode. Stop for a cracked or loose guard, damaged blade, unidentified charger, swelling, leakage, smoke, odor, abnormal sound, strong vibration, or rapid heat. Use the loose-guard checks before touching the beard with an unstable attachment.
Identify One Touch-Up Target at a Time
Describe the target precisely: two hairs outside the right jaw silhouette, one small fuller patch at the left chin shoulder, or mustache tips crossing the existing lower boundary. Do not use broad descriptions such as “clean it up” or “make it neater.”
Keep every unmarked zone outside the first pass. A narrow target makes the result attributable to one guard, direction, and contact method. It also creates a clear stop point after the target is reassessed.
Handle Isolated Flyaways Conservatively
First comb the strand into the normal lay and wait for it to settle. If it still projects beyond the silhouette, determine whether a guarded trimmer can reach it without removing surrounding structure. A broad pass is usually unnecessary for one isolated hair group.
Use a model-approved precision attachment or careful scissor method only when its use is understood. Keep the cutting edge visible and work away from lips and skin folds. This page does not authorize unguarded work merely because the target is small.
Make One Light Guarded Pass
Place the verified guard against the mapped target as the exact manual directs. Use light, smooth contact and one short pass inside the marked zone. Do not press harder to catch hair or carry the stroke into the protected chin, jaw, or cheek area.
The official Philips OneBlade trimming instructions describe full comb contact, model-specific settings, and longer-first adjustment for covered systems. Those mechanics support conservative control; they do not establish one direction, guard, or result for every trimmer.
Clear Clippings and Recomb Before Judging
Switch off as required, clear loose hair from the guard and beard, and recomb the touched zone into its ordinary position. Use the same light, viewing distance, and head angle as the baseline. A close mirror checks attachment contact; a step-back view checks the silhouette.
Do not repeat the pass while cut hairs remain trapped in the beard. Clippings can hold nearby strands outward and make a completed touch-up look unfinished. Reassessment is a required stage, not a pause before automatic correction.
Compare the Matching Zone on the Other Side
Compare right and left cheek, jaw, chin-shoulder, sideburn, or under-jaw zones only after both are dry and recombed. Ask whether the remaining difference is removable length or natural density, curl, direction, lighting, and facial structure.
Do not trim the opposite side merely because the first side was touched. Correct it only when its own small excess target is confirmed. Alternating assessment prevents a local maintenance task from becoming two expanding correction zones.
Touch Up the Mustache Without Redesigning It
Comb the mustache into its normal direction and identify only tips that cross the existing lip or corner boundary. Protect center bulk and side connections when they are part of the intended style. Use a documented narrow attachment or method that keeps the cutter visible.
Do not shorten the full mustache to match one displaced strand. Keep the tool away from lips and nostrils, and stop if the target cannot be reached without broad unguarded contact. A style change belongs in a planned trim.
Touch Up the Sideburn Connection
Compare the sideburn-to-beard transition with the recorded shape and the opposite side. A touch-up can remove isolated growth outside an established connection, but it should not create a new fade or move the upper beard boundary.
Use the previous verified setting for that narrow zone and keep the stroke inside its limits. Haircut growth can change how the transition appears; if both hair and beard lengths need blending, plan a separate complete transition rather than chasing it with repeated guard changes.
Touch Up the Under-Jaw Silhouette
Lift the chin naturally and comb under-jaw hair into its ordinary lay. Check the silhouette from the side and front. Remove only confirmed tips or a small excess zone that hangs beyond the recorded shape.
Do not flatten the complete under-jaw area or carry a cheek setting across changing grain. Use the medium-beard grain guide to map local direction while leaving the exact model’s contact and movement instructions controlling.
Keep Edge Cleanup Separate
Cheek-line and neckline maintenance changes a boundary, while a bulk touch-up changes isolated length. Do not combine them automatically. Stabilize the beard silhouette first and mark any existing edge with the trimmer off.
If the line position is uncertain or repeated corrections would move it, stop. The neckline guide provides a separate placement and conservative edging workflow. Sequence27 will address medium-beard edge cleanup as its own distinct intent.
Change One Variable Only
If the first pass does not resolve a confirmed length target, change either the setting, model-approved direction, or exact zone, not all three. Keep pressure and guard contact stable. Retest one small area after every documented change.
Changing several variables makes the cause of the result impossible to identify. The medium-beard mistake guide covers guard jumps, hard pressure, broad passes, premature edge work, and repeated correction loops in more detail.
Use a Strict Pass Limit
Allow one test pass, one full reassessment, and at most one justified correction on the small zone. Then stop or defer the work to a planned full trim. A touch-up session should become smaller and clearer after each decision, not expand into adjacent areas.
Philips’ groomer irritation guidance warns against excessive pressure and repeatedly covering the same area for covered tools. Stop for discomfort rather than using repeated passes as proof that the result is becoming even.
Recover From an Over-Short Touch-Up
Stop immediately, clear clippings, and let the beard settle. Protect the shortened area as a temporary minimum. Do not shorten every other zone automatically. Compare whether one obvious transition can be softened without removing the chin or jaw structure that defines the beard.
If no conservative transition exists, make no further cut. Record the setting and affected zone, maintain only existing edges if appropriate, and allow length to return. Another pass cannot restore removed hair.
Touch-Up Checklist
- The beard is clean, dry, relaxed, and recombed.
- The issue remains visible after the shape reset.
- One exact target and its protected surrounding zones are marked.
- The previous model, head, guard value, and zone record are available.
- The guard is intact, level, locked, and clear of packed hair.
- The blade, head, power parts, and housing show no damage.
- The local grain and model-approved contact method are known.
- One light pass and one-variable correction limit are defined.
- Mustache, sideburn, under-jaw, bulk, and edge tasks remain separated.
- Stop conditions are understood before the trimmer is switched on.
Repeatable Touch-Up Sequence
- Let the beard reach its normal dry and relaxed condition.
- Recomb and reset the complete silhouette before marking anything.
- Bring forward the prior zone map and protected structural length.
- Verify the exact model, head, guard, power mode, and manual.
- Inspect guard locks, blade teeth, head seating, and power condition.
- Mark one isolated hair group or one small matched zone.
- Make one light model-approved pass inside that target.
- Switch off, clear clippings, recomb, and step back.
- Compare the matched opposite zone without chasing density differences.
- Make at most one one-variable correction when excess length is confirmed.
- Keep edge redesign and full bulk reduction outside the touch-up.
- Clean, dry, record the result, and stop.
Stop Conditions
Stop for a loose, cracked, tilted, or incompatible guard; damaged or contacting blade teeth; a slipping adjustment; pulling; abnormal noise, odor, vibration, or heat; smoke; battery swelling or leakage; damaged power parts; or water exposure outside the exact rating.
Also stop over painful, broken, bleeding, or actively irritated skin; when the target disappears after recombing; when only density, curl, direction, or facial structure differs; when a boundary must move; or when each correction makes the goal less clear. Do not tape a guard, force a head, add pressure, or turn one uncertain touch-up into a full trim.
Frequently Asked Questions
What should I trim during a medium-beard touch-up?
Trim only isolated hairs or a small mapped zone that remains visibly outside the settled shape after drying and recombing. Preserve bulk length, chin projection, jaw width, cheek line, and neckline unless a separate full trim is planned.
Should I use the same guard as my last full trim?
Use the recorded exact-model guard only when it still matches the intended zone and minimum acceptable length. Begin longer when the prior setup is uncertain, and test one small dense area before making another pass.
How many passes should a beard touch-up take?
Use one light pass on one identified zone, then switch off, clear clippings, recomb, and reassess. Make at most one justified correction before stopping or deferring the work to a planned full trim.
When should I stop touching up a medium beard?
Stop when the difference disappears after recombing, when only density or curl differs, when a boundary must move, or when the guard, blade, power system, skin, or target is uncertain. Repeated correction cannot restore removed length.
Sources and Claim Boundary
Primary references reviewed in July 2026 are the Philips OneBlade trimming instructions, current Philips groomer manual, and Philips groomer irritation guidance linked above. They support exact-model guard identification, longer-first calibration, full comb contact for covered systems, smooth light strokes, component-specific care, and avoiding repeated pressure.
This page applies those mechanics to a generic between-trim maintenance workflow. It does not report hands-on testing, prescribe one schedule, setting, direction, or pressure for every trimmer, diagnose skin or hair conditions, create density or growth, or guarantee symmetry, comfort, or a particular result. The exact model manual controls.
