
Disclosure: This site may use affiliate links. Product specifications should be checked against manufacturer or retailer pages before purchase.
Direct Answer
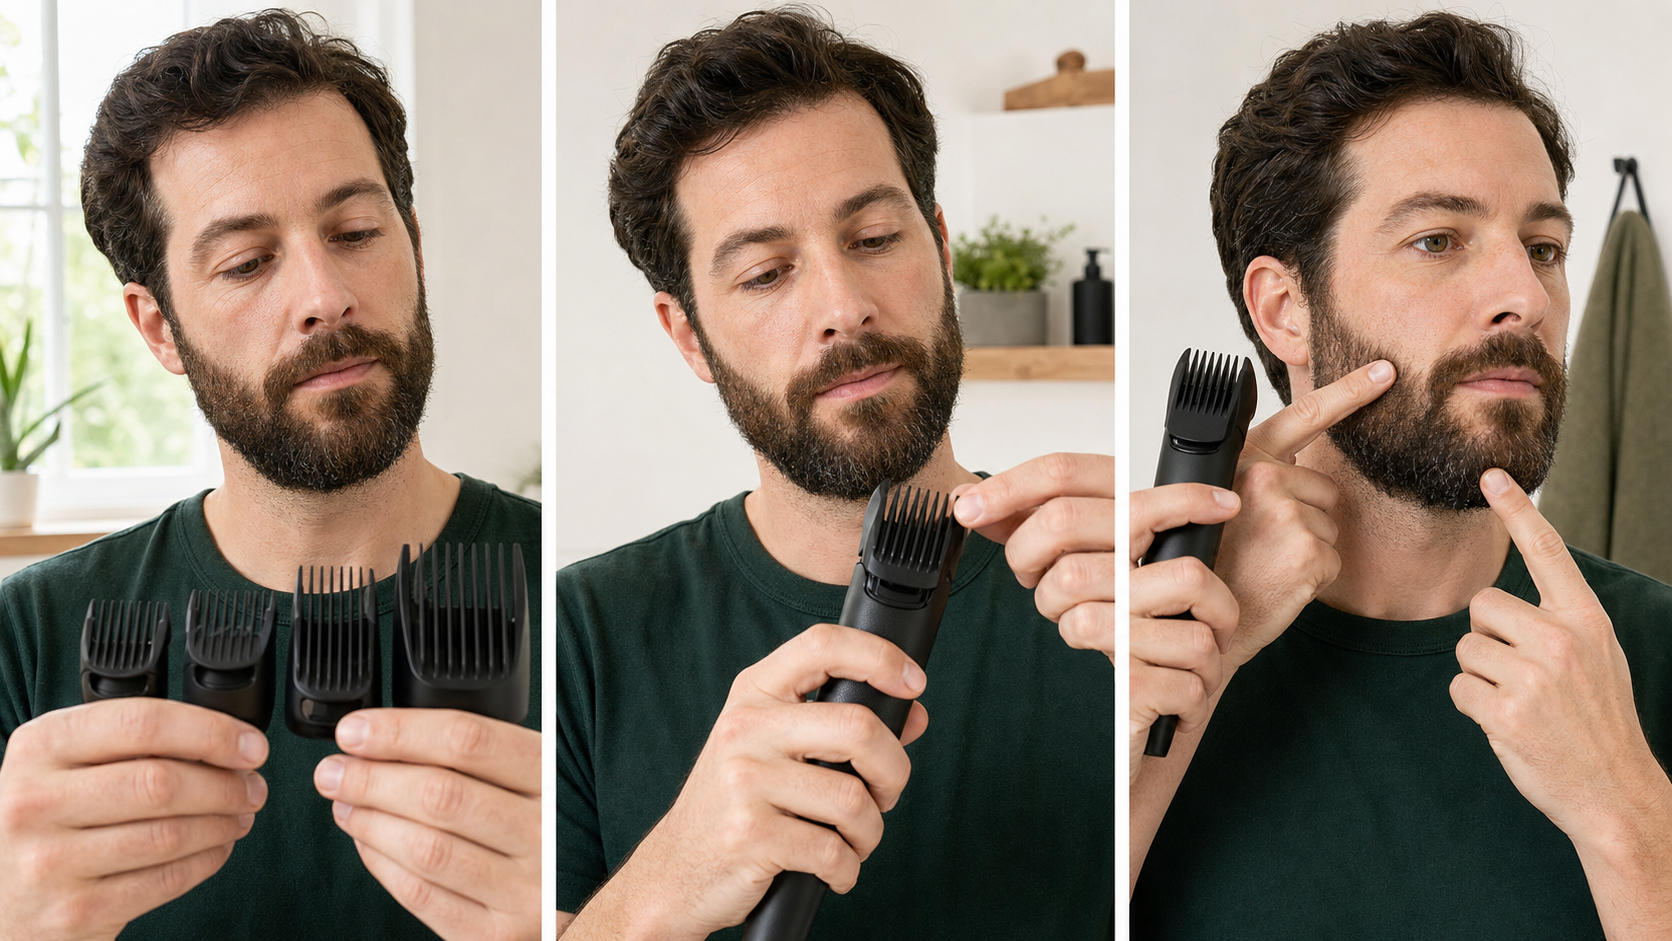
Direct answer: Choose a guard for a medium beard by checking the exact trimmer’s documented lengths, finding the shortest beard zone you want to preserve, and starting with the longest compatible setting that could meet the goal. Test one small dense area, recomb it dry, then step down only one documented setting at a time. Use separate guards for zones with different target lengths.
This guide is about guard selection and calibration, not the complete trimming process. A printed guard number is not a universal measurement, and a single setting rarely describes every part of a medium beard. The exact model manual controls compatible attachments, length values, adjustment controls, direction, contact, wet or dry use, cleaning, and safety.
Medium-Beard Guard Decision Map
| Decision | Evidence to use | Conservative choice |
|---|---|---|
| Attachment identity | Exact model manual, guard marking, and locking design | Use only a documented compatible guard |
| First length | Natural dry beard and the shortest zone to preserve | Start longer than the estimated target |
| Test zone | A small, visible, denser area that can remain longer | Keep chin anchors and sparse areas out of the first test |
| Next setting | Recombed result after one short calibration pass | Move only one documented step shorter |
| Zone changes | Separate targets for cheeks, jaw, chin, sideburns, and mustache | Record a guard for each zone instead of forcing one setting everywhere |
Start With the Exact Trimmer System
Record the complete model number before comparing guards. A manufacturer may use fixed combs, an adjustable comb, a dial inside the handle, a taper lever, or more than one of those systems. A guard from the same brand may still be incompatible with another head or model family.
Read the length table in the manual and identify whether the stated value comes from the attachment, the dial, the lever, or a combination. The current Philips Multigroom manual, for example, identifies combs and their millimeter markings for covered models. Philips also publishes separate OneBlade attachment instructions, showing why the correct attachment and locking method must be verified rather than inferred.
Do not stack guards, hold an incompatible guard in place, or assume that a similar-looking rail will lock safely. Use the beard trimmer buying guide when the existing tool lacks a documented range suitable for the beard you intend to maintain.
Guard Number and Measured Length Are Different
A label such as No. 1, No. 2, short, medium, or long may identify a position within one product system. It does not establish a cross-brand cutting length. Even a millimeter marking must be read with the correct attachment and adjustment position.
The guard-size guide provides the broader vocabulary for fixed guards, adjustable combs, and dial settings. For this decision, make a model-specific list containing only the lengths you can verify. If the manual and attachment disagree or the marking is worn away, pause until the part can be identified.
Avoid converting a desired visible beard length directly into a guard setting. Curl, growth direction, density, guard contact, and how the hair enters the comb affect the visible result. The documented setting is a repeatable tool reference, not a guarantee that every hair will finish at one visible distance.
Use a Natural Dry Baseline
Choose the first guard only after the beard is clean enough to comb, fully dry, and settled without stretching. Damp hair, heavy balm, compressed sleep patterns, or a pulled-straight measurement can make the apparent length unreliable.
The medium-beard preparation guide covers drying, detangling, growth-direction mapping, tool inspection, and baseline photographs. Complete that preparation first. Guard choice begins when you have a stable view of the beard’s shortest and longest zones.
Philips’ OneBlade trimming guidance recommends beginning with the longest setting while learning the adjustable comb. That model-specific example supports a conservative test ladder, but it does not establish one universal starting length for every beard or trimmer.
Find the Shortest Zone You Need to Preserve
Look at the cheeks, jaw corners, chin center, sideburns, mustache, under-jaw, and neck separately. Mark the shortest area that must remain part of the finished silhouette. That preservation zone is more important than the average or longest hair.
If a cheek area is shorter or less dense than the chin, a guard chosen for chin reduction may remove useful cheek coverage. Exclude the cheek from that pass or select a longer cheek setting. The purpose is not to make natural density identical; it is to avoid cutting a protected zone simply because another zone needs bulk reduction.
For naturally sparse areas, use the visual-balancing principles in the patchy beard guide: preserve coverage first and reduce denser areas cautiously. Guard selection does not create new growth or diagnose hair loss.
Define a Target for Each Structural Zone
Write a separate target for broad cheeks, jaw corners, chin, sideburn transitions, mustache, and under-jaw bulk. A medium beard often keeps more projection at the chin, less width at the sides, and a distinct transition into the sideburns. Those choices may require different settings.
Use plain descriptions before numbers: preserve chin projection, reduce side bulk, keep cheek coverage, soften the sideburn transition, or clear the mustache from the lip. Then assign only verified compatible settings to those jobs.
Do not blend while selecting the base guards. First identify the longer and shorter zones. The jaw-corner blending guide can inform a later transition step, but this page stops at the guard map and calibration result.
Select the Longest Useful First Guard
Choose the longest verified setting that could still remove unwanted length from the test zone. If two settings seem plausible, select the longer one. A first pass that removes little or no hair provides information; a first pass that is too short cannot restore length.
Keep every shorter preservation zone outside the test area. Attach the guard while the tool is off, confirm that it clicks or locks as documented, and check that it sits level without rocking. If a dial changes the guard length, set it deliberately and record the position before the tool is switched on.
Do not press harder to make a long guard cut shorter. Pressure can change skin contact and how hair enters the comb. Guard choice should be changed through a documented setting, not improvised force.
Choose a Safe Calibration Zone
Select a small, visible, denser area on the lower cheek or side where leaving extra length would not damage the plan. Avoid the central chin, a sparse patch, the mustache edge, a sharp jaw transition, or an area with broken or painful skin.
The calibration zone should have one mapped growth direction and enough room for one short controlled pass. Its purpose is to answer one question: does this verified setting remove useful bulk while preserving the planned base length?
Do not test on both sides at once. One zone creates a reference that can be recombed and compared before the setting is repeated elsewhere.
Use a One-Step Test Ladder
After the test pass, clear clippings from the guard, comb the zone into its natural dry position, and allow compressed hair to settle. Compare it with the adjacent untrimmed area and the baseline photograph. Do not judge while loose clipped hair remains trapped in the beard.
If the zone is still longer than the documented target, move only one available setting shorter. Keep the same zone, direction, contact, and light pressure so the setting is the only changed variable. Repeat the recomb-and-assess step before another change.
Skip a setting only when the exact tool provides no intermediate position and the remaining length clearly exceeds the next documented option. Even then, limit the new test to the same small area. A rapid jump through several guards defeats the calibration process.
Assign Different Guards by Zone
Once a useful setting is found, record it beside the tested zone. Do not automatically apply it to the whole beard. Compare the setting with the preservation requirement for each remaining zone and assign a longer guard, shorter guard, or no guarded reduction.
A simple map may read: longer chin, medium jaw and lower cheek, longer sparse upper cheek, and separate mustache clearance. The actual settings must come from the exact model. This map is more reliable than remembering one global guard number.
Keep left and right assignments matched when the target structure is the same, but do not chase natural density differences with progressively shorter settings. Use the left-right comparison workflow for consistent camera position, sequence, and stop points.
Account for Dials and Taper Levers
Some tools combine a guard with an adjustment dial. Others use a taper lever that changes blade position within a documented range. Do not assume that a lever position means the same thing as changing to another guard.
Record the complete configuration: model, attachment, printed guard value, dial position, and lever position if applicable. Change only one control during calibration. If the manual does not define how controls interact, do not invent a combined length table.
A closed taper lever is not the same as a zero-overlap blade adjustment. The zero-gap setup guide explains that distinction and the safety boundary for manufacturer-supported blade alignment.
Inspect Guard Fit and Condition
Before every test, inspect the guard teeth, side rails, locking tabs, hinge, dial engagement, and printed markings. Replace or stop using a guard that is cracked, bent, loose, or unable to remain level. A damaged comb can feed hair unevenly or expose the blade unexpectedly.
Clear clipped hair when it packs between the guard and blade. Switch the tool off before removing the attachment. Follow the exact water and cleaning rules; rinseable heads, washable guards, and waterproof handles are not interchangeable descriptions.
Use the cleaning and oiling guide for the generic maintenance sequence while allowing the exact manual to control lubrication and water exposure.
Common Guard-Choice Errors
- Copying a guard number from another brand without verifying its measured length.
- Choosing from the longest chin hair while ignoring a shorter cheek preservation zone.
- Testing on a central structural area instead of a small dense side zone.
- Changing guard, direction, pressure, and zone at the same time.
- Using one setting across cheeks, jaw, chin, sideburns, and mustache without a zone plan.
- Pressing harder when a longer guard removes little hair.
- Judging before clippings are cleared and the beard is recombed dry.
- Continuing with a cracked, loose, unidentified, or incompatible attachment.
Repeatable Guard-Choice Sequence
- Record the exact trimmer model and compatible attachment system.
- List only documented guard, dial, and lever lengths.
- Prepare and assess the beard in its natural dry state.
- Map cheeks, jaw, chin, sideburns, mustache, and under-jaw separately.
- Identify the shortest zone that must be preserved.
- Define a plain-language target for every structural zone.
- Attach the longest useful verified first guard while the tool is off.
- Test one small dense side zone using one controlled pass.
- Clear clippings, recomb, and assess the relaxed result.
- Move only one documented setting shorter when necessary.
- Record the useful setting, then assign guards to the other zones separately.
- Stop guard selection before beginning blending, edging, or a full trim.
Stop Conditions
Stop if the attachment identity cannot be verified; the guard is cracked, bent, loose, or will not lock; the blade has damaged teeth; a dial or lever will not hold; or the tool pulls, stalls, rattles, smells abnormal, or becomes unusually hot. Do not continue over broken, painful, bleeding, or actively irritated skin.
Guard selection cannot guarantee symmetry, comfort, density, or a particular appearance. It does not diagnose skin or hair conditions or change beard growth. A sudden new bare area, persistent pain, bleeding, or another concerning change is outside routine styling and requires appropriate professional advice.
Frequently Asked Questions
What guard should I start with for a medium beard?
Start with the longest compatible setting that could meet the goal, then test one small dense zone. The correct first guard depends on the exact model, natural dry length, and the shortest zone you need to preserve.
Does the same guard number mean the same length on every trimmer?
No. Guard numbers, colors, dial positions, and attachment names are system-specific. Verify the millimeter or inch value in the exact model manual or on the compatible attachment.
Can I use different guards on the cheeks and chin?
Yes, when the planned silhouette needs different preserved lengths. Record each zone and setting, keep the longer structural area out of shorter passes, and blend transitions in a separate step.
When should I stop choosing or testing guards?
Stop if the guard is cracked, bent, loose, incompatible, or will not lock; if the blade is damaged; or if the tool pulls, rattles, smells abnormal, or becomes unusually hot.
Sources and Claim Boundary
Primary references reviewed in July 2026 are the current Philips Multigroom manual, Philips OneBlade trimming guidance, and Philips OneBlade attachment instructions linked above. They support exact-model attachment identification, documented length markings, secure fit, and a longer-first calibration approach. This page is a generic guard-selection framework, not hands-on product testing, a universal guard chart, a complete trim, or a promise of symmetry, comfort, growth, density, or a specific result.
