
Disclosure: This site may use affiliate links. Product specifications should be checked against manufacturer or retailer pages before purchase.
Direct Answer
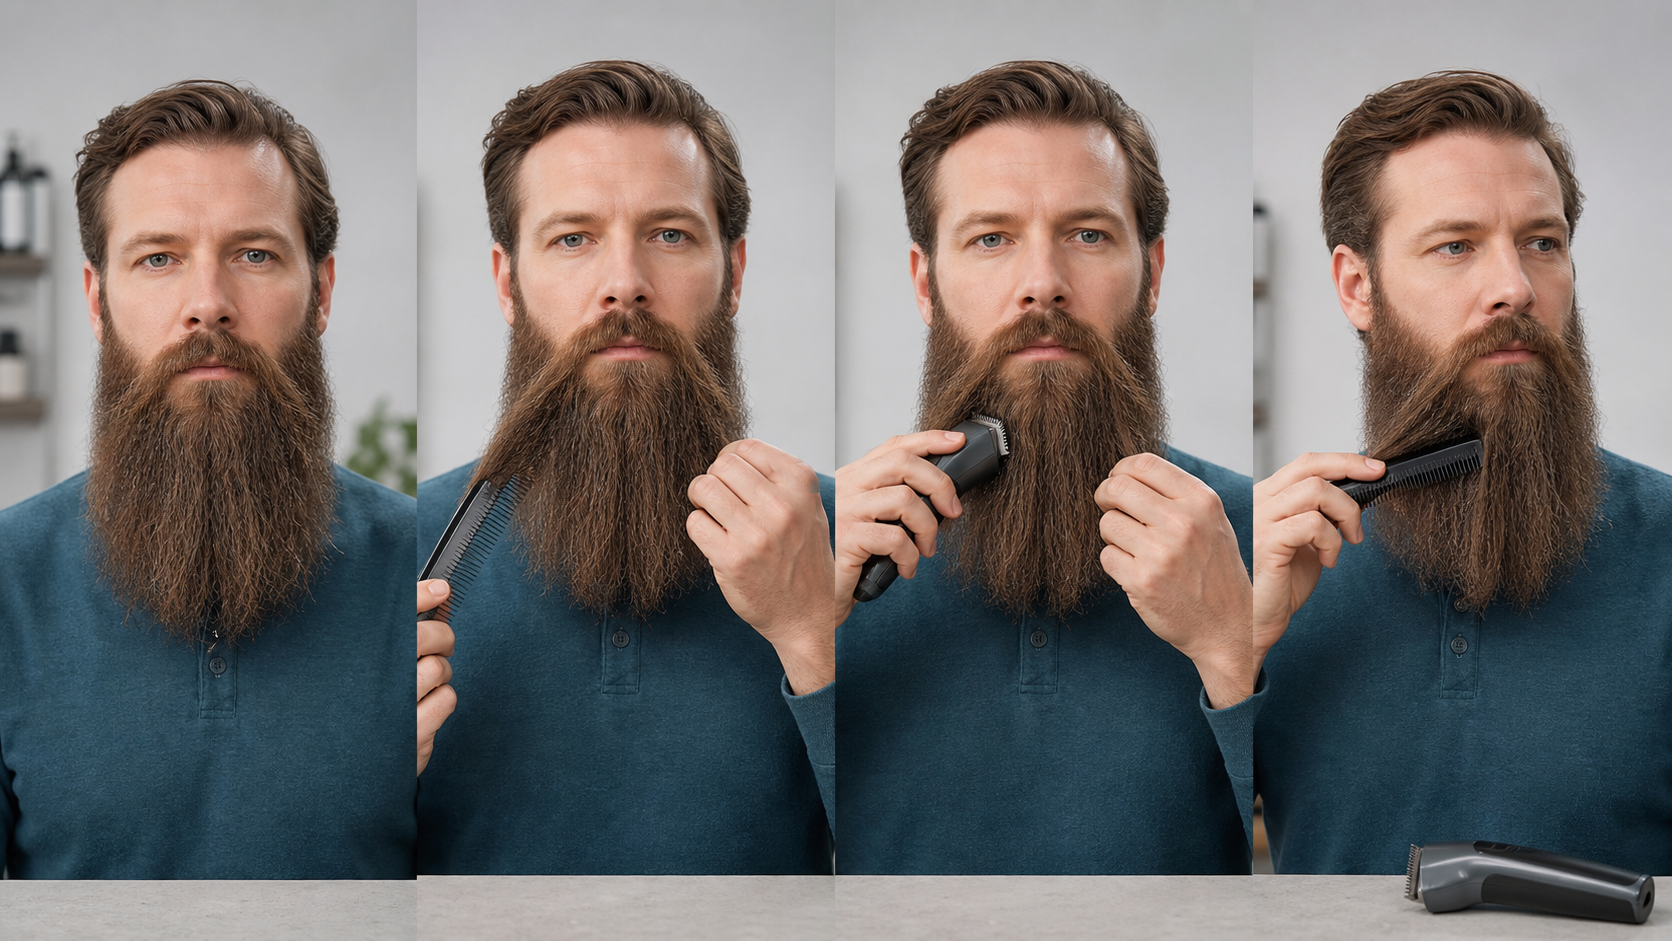
Direct answer: Touch up a long beard without overtrimming by naming one maintenance target, judging it in the normal dry released shape, and protecting the central chin, jaw corners, outer panels, and supporting layers. Isolate one visible section, use the longest verified setup that can address it, make one short correction, then switch off, clear, recomb, fully release, and reassess.
A touch-up is not a compressed full trim. Most of the beard must remain untouched. The job is complete when one previously defined issue no longer changes the established silhouette. If the session expands into several lengths, both sides, new cheek or neck boundaries, or a different chin shape, stop and plan a full long-beard workflow.
Long-Beard Touch-Up Decision Table
| Observed issue | Touch-up decision | Protected structure |
|---|---|---|
| One outer section extends beyond the recorded side contour | Trace its source, isolate it, and test one longer verified setup | Support layer, jaw corner, central chin, opposite side |
| A few ends remain outside the released silhouette | Confirm they are true flyaways before a visible end-only correction | Crossing strands and the source zone beneath them |
| The whole beard feels wider or longer | Not a touch-up; map a planned full trim | All structural anchors until a new design is recorded |
| An old cheek or neck edge has grown out | Restore only the recorded boundary in a separate edge session | Main bulk length and neighboring density |
| Both sides appear different after release | Use a symmetry workflow before deciding either side is overlength | The shorter or better-shaped reference side |
Define One Maintenance Target
Write one sentence before switching on: “Correct the released outer section below the left jaw corner,” “remove three verified ends outside the right side contour,” or “restore the existing lower cheek boundary.” The sentence should name the visible location, the established reference, and what must not change.
“Make the beard neater” is too broad. It can silently authorize bulk reduction, side matching, chin shortening, edge redesign, and mustache work in one session. Use the long-beard mistake guide when the problem includes several categories or when the original shape is no longer clear.
Use the Normal Dry Released Shape as the Reference
Remove bands, clips, tight collars, prolonged hand tension, and heavy styling that hold the beard in a temporary shape. Follow the exact tool’s approved wet or dry method, but evaluate final length only after the complete beard has returned to its usual worn state. Water, stretch, compression, and product can change apparent projection.
The long-beard preparation guide covers drying roots and underlayers, end-first detangling, outer and support mapping, and tool staging. A touch-up may use a shorter preparation session, but it cannot skip full release, source-zone tracing, or equipment checks.
Recreate the Previous Viewing Conditions
Use the same front light, side light, head position, clothing clearance, combing direction, and viewing distance used to record the established shape. Compare a current image with a previous image only when camera distance, lens angle, beard release, and posture are sufficiently similar.
Close mirrors exaggerate isolated ends and hide the complete silhouette. Step back to judge front width, side projection, jaw-corner turns, and the central chin. Use the close view only to identify the exact target and keep the tool path visible.
Distinguish a Flyaway From Structural Projection
A true flyaway remains visibly outside the released shape after gentle recombing and can be traced to one source section. Structural projection is a group of hairs creating intended width, chin length, a jaw transition, or coverage over a lighter-density zone. Removing that group changes the design even when its ends look irregular nearby.
Support a suspected flyaway near its middle, trace it toward the root, and release it. Do not pull it taut or cut at the first visible endpoint. Long hair can cross from the chin into a side panel or from the cheek toward the center. The long-beard grain guide explains root, middle, and released-end ownership.
Map Outer and Supporting Layers
Lift only enough outer hair to observe the layer beneath it. Record where the support layer begins, where it ends, and how it contributes to width or coverage. The touch-up target should remain visible when the outer layer is separated without pulling the support layer into the cutting path.
If the target cannot be isolated without feeding outer and supporting hair together, it is not ready for a powered touch-up. Release the section and choose a different method, seek qualified help, or defer the correction to a full mapped trim.
Protect the Central Chin and Jaw Corners
Mark the lowest central chin point, forward projection, chin width, and both jaw-corner turns as no-pass anchors unless one of them is the explicit design target. An outer-side touch-up should stop before the jaw turns toward the center. A chin correction should not automatically continue into either side panel.
The central chin and jaw corners connect front length with side width. Shortening one to match a local irregularity can alter the whole beard. If an anchor itself needs redesign, end the touch-up and create a full-shape plan.
Keep One Side as an Untouched Reference
If only one side has a confirmed overlength section, leave the shorter or better-shaped side untouched. Record matched landmarks such as sideburn connection, upper side width, jaw corner, lower outer edge, and chin transition. Correct the confirmed side toward the established reference rather than alternating automatic cuts.
The long-beard symmetry guide explains reference-side selection and matched-view checks. Natural density, curl, direction, and facial structure can remain different after equal length; a touch-up should not chase mathematically identical sides.
Verify the Exact Tool and Attachment
Read the complete model and regional suffix, then inspect the blade, guard, attachment lock, housing, power system, and documented use. Guard numbers are not universal lengths. A familiar number on another trimmer does not establish the same millimeter result, tooth depth, or long-hair admission.
Philips’ current OneBlade trimming guidance tells users of covered adjustable systems to begin with a longer setting when learning the result. That supports a conservative longer-first test, not a universal guard, direction, or method for every long beard.
Choose a Guarded Trimmer or Scissors by Target
A guarded trimmer can suit one mapped outer section when the guard can remain flat, the cutter path stays visible, and support hair is protected. Suitable beard scissors can suit a few visible ends when the closure, tip, pivot, handling, and cleaning instructions have been checked. Neither tool is automatically safer or more precise for every target.
Use the beard-scissors use and care guide for visible small-cut controls. Do not switch between scissors, guards, bare blades, and detail heads merely because the first correction is subtle. Changing tool and target together removes the comparison needed to judge the result.
Set a Protected Length Floor
Define the shortest acceptable result for the target section before selecting a setting. Verify the complete model, head, guard identifier, documented length, locking fit, and section contact. Start longer than the protected floor and longer than the final estimate when the setup is unfamiliar.
The long-beard guard guide covers outer-layer admission, contact limits, and one-section calibration. Do not shorten the setting because the session is called a touch-up. A smaller task still needs recovery margin.
Inspect the Assembly Before Contact
With power disconnected, clear visible debris as the manual allows and inspect cutter teeth, guard teeth, rails, tabs, latches, setting controls, cable, charger, battery, and housing. Attach the verified guard and confirm that both sides lock without rocking or twisting.
Switch the tool on away from hair and stop for new rattle, impact, uneven speed, odor, smoke, unusual vibration, heat, or attachment movement. Long beard hair is not a safe test material for questionable equipment. Use the hair-pulling checks when condition, buildup, charge, or part fit is uncertain.
Isolate One Small Visible Section
Separate only the confirmed target with fingers or a comb positioned away from the cutter path. Keep the root zone, middle, released end, outer layer, support boundary, and nearby anchor visible. Do not twist the section into a rope or pull it to an artificial maximum length.
If the target disappears when isolated, it may have been crossing hair, compression, or a viewing artifact. Release and reassess instead of searching for material to cut. A tool-ready session does not require a cut.
Make One Short Controlled Correction
Place the verified guard only as the manual directs and make one short, light pass across the isolated target. End before the jaw corner, central chin, or hidden layer. Do not scoop, tilt, press, or extend the stroke to capture hair that did not enter naturally.
Philips’ Multigroom instructions provide model-specific comb values, attachment roles, and contact directions for covered devices. The source demonstrates why the exact attachment instructions control; it does not establish a long-beard pass for another tool.
Switch Off and Clear Clippings
Stop the tool after the single pass. Clear loose hair from the beard and the non-powered attachment according to the manual. Cut hair can bridge guard teeth, hold nearby strands outward, or make an already corrected area look unfinished.
Do not make a second pass while clippings remain in the beard or guard. Do not tap a powered head against a sink, comb, hand, or hard surface. If clearing requires attachment removal, switch off and disconnect as instructed.
Recomb, Fully Release, and Step Back
Recomb the complete beard into the same baseline position, release all lifted and held sections, and wait for the hair to settle. Compare the recorded front, both profiles, and both three-quarter views under the same light and head angle.
The corrected local section can look small in a close mirror yet noticeably change front width or the turn at the jaw. Full release is the main feedback stage. If the target no longer changes the intended silhouette, the touch-up is complete.
Use a Strict Correction Budget
Allow one test correction, one complete release and reassessment, and at most one additional justified correction on the same named target. Do not spend the second correction on a newly discovered zone. A touch-up should become smaller and clearer after each decision.
If the target remains unclear after two controlled reviews, stop. More passes will not improve the evidence. Record what remains, allow the beard to return to its ordinary worn state, and revisit it later or plan a full trim.
Handle the Mustache as a Separate Target
Comb the mustache away from the mouth and release it before deciding which ends cross the intended boundary. Keep lips and nostrils outside the cutter path. Use only a documented detail attachment or suitable scissors whose role and handling have been verified.
Do not shorten the central mustache merely because side ends are uneven, and do not carry a beard guard across the mustache automatically. If length, bulk, corners, and lip clearance all need changes, schedule a separate mapped mustache session.
Separate Edge Maintenance From Bulk Touch-Up
Cheek and neckline maintenance restores a previously recorded boundary. A bulk touch-up corrects isolated length outside the silhouette. Stabilize the full released beard before edge work, mark the existing line with the tool off, and remove only hair clearly outside it.
The medium-beard edge guide explains boundary restoration without moving the main line. Long-beard edge work needs extra care because hanging outer hair can cover the neckline and make a higher cut look temporarily tidy while reducing lower-beard connection after release.
Do Not Turn Density Into a Length Problem
A lighter or darker area can come from density, curl, direction, hair color, lighting, or the layer beneath it. Repeated trimming cannot make every zone carry the same hair count. Shortening the denser side may expose more contrast without resolving the original concern.
Compare source zones and silhouette, not darkness alone. If the issue is stable coverage rather than a section outside the intended contour, preserve length and use a style or grooming decision that does not depend on removing more hair.
Know When a Full Trim Is Required
End the touch-up and plan a complete workflow when several zones need shortening, overall width or length has changed, the central chin or jaw corners need redesign, both sides lack a stable reference, layers cannot be separated, an edge must move, or the target depends on changing several guards and tools.
A full trim can map every zone, establish protected floors, choose a deliberate order, and preserve recovery margin. Treating that work as a series of unplanned touch-ups creates cumulative drift and removes the original reference.
Stop Conditions
Stop for a damaged blade or guard, loose attachment, abnormal sound, heat, odor, smoke, slowing, pulling, electrical damage, or uncertain wet-use status. Also stop over painful, broken, bleeding, swollen, or actively irritated skin and seek appropriate guidance rather than diagnosing or continuing through it.
Stop when the target disappears after recombing, when crossing hair cannot be assigned to a source zone, when support layers enter the path, when an anchor would be shortened, when the opposite side would need automatic matching, or when each correction makes the goal less specific.
Long-Beard Touch-Up Checklist
- Name one maintenance target and one protected reference.
- Use the normal dry released shape and matched viewing conditions.
- Trace flyaways and crossing hair to their source zones.
- Map outer and supporting layers before choosing a tool.
- Protect the central chin, jaw corners, and untouched reference side.
- Verify the exact model, attachment, condition, and longest useful setup.
- Isolate one visible section and make one short correction.
- Switch off, clear clippings, recomb, fully release, and step back.
- Use at most one additional justified correction on the same target.
- Move multi-zone, edge-redesign, and anchor changes to a planned full trim.
Frequently Asked Questions
What should I trim during a long-beard touch-up?
Limit the session to one confirmed maintenance target: an isolated outer section beyond the recorded silhouette, a few verified flyaways, or an existing boundary that has grown out. Preserve supporting layers, the central chin, jaw corners, and every area not named in the plan.
Should I use a trimmer or scissors for a long-beard touch-up?
Use only a tool whose documented role matches the target. A guarded trimmer can address one mapped outer section, while suitable beard scissors may address a few visible ends. Verify the exact tool, keep the path visible, and do not transfer one method to hidden layers.
How do I know when a long-beard touch-up is finished?
Switch off, clear clippings, recomb, fully release the beard, and compare the recorded front, profile, and three-quarter views. Finish when the named target no longer changes the intended silhouette. Do not search for another problem just because the tool is ready.
When should I do a full long-beard trim instead?
Use a planned full trim when several zones need shortening, the central chin or jaw structure must change, both sides lack a stable reference, an edge must move, or the target cannot be isolated without compressing or cutting support layers.
Sources and Claim Boundary
- Philips OneBlade trimming guidance for covered-model longer-first setup and attachment use.
- Philips Multigroom instructions for covered-model comb values, attachment roles, contact, cleaning, and safety.
- Wahl trimming with and without guide combs for visible guarded and freehand role distinctions.
Claim boundary: This page provides a generic layered long-beard touch-up workflow. It does not prescribe a universal guard, direction, pressure, pass count, wet-use method, schedule, or tool; report hands-on testing; diagnose skin or hair conditions; promise symmetry, comfort, performance, recovery, or a result; or replace the exact model manual and current condition checks.
