
Disclosure: This site may use affiliate links. Product specifications should be checked against manufacturer or retailer pages before purchase.
Editorial update, June 19, 2026: This recovered page was rebuilt as a practical men's haircut and clipper-control guide using restored or current site media. It avoids firsthand-service claims, celebrity identity claims, live shopping data, score claims, and brand-owned imagery.
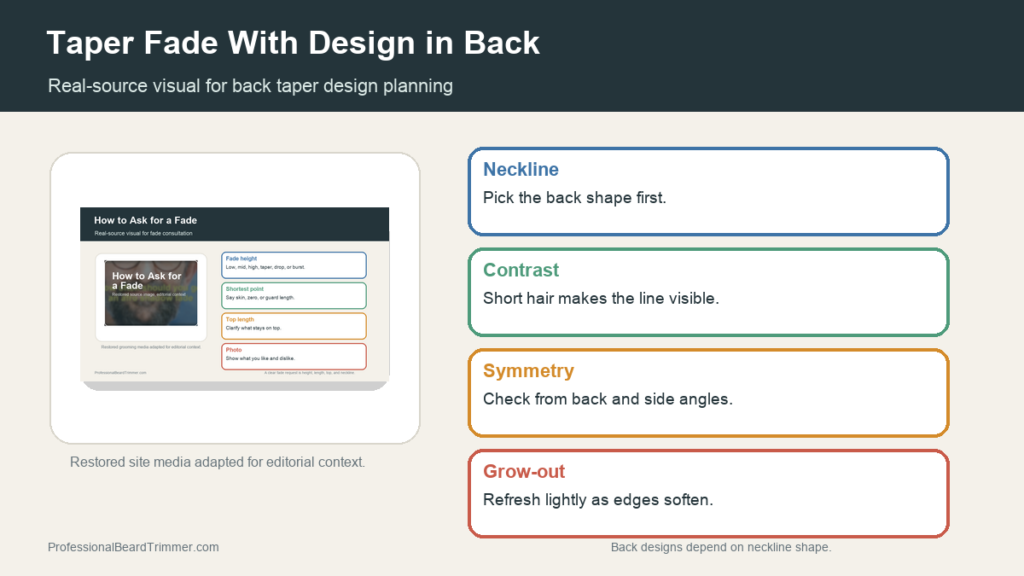
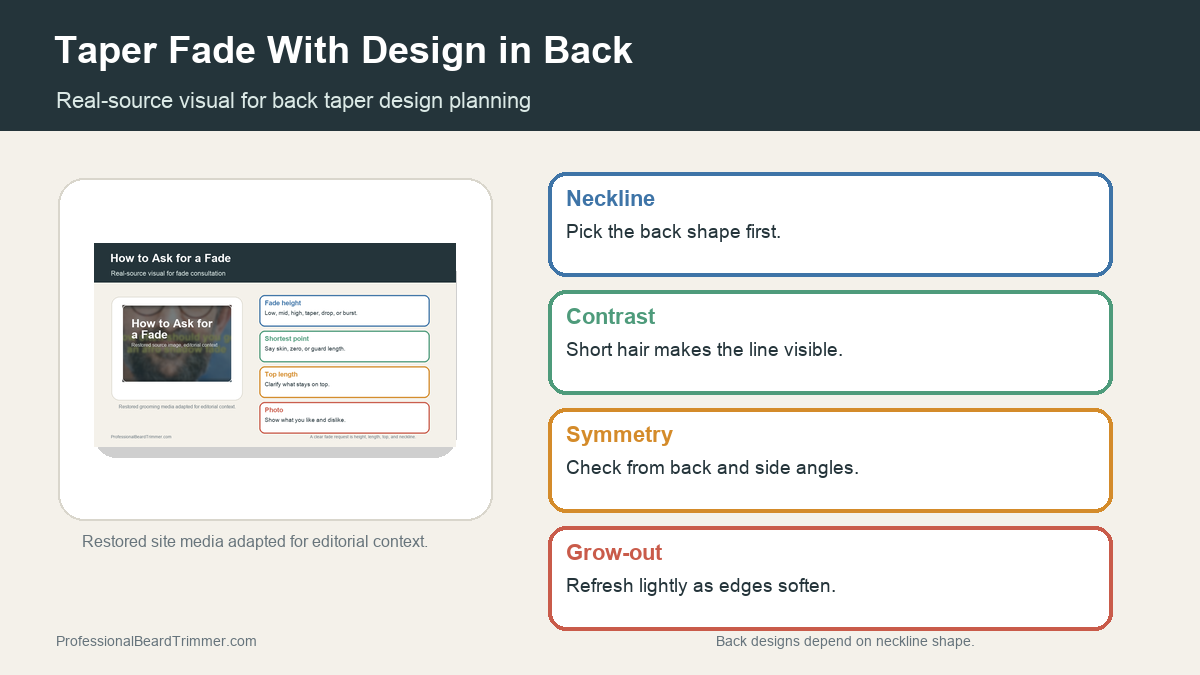
Image note: The image gives fade-planning context from existing site media. It is not a barber-service record, exact result photo, or celebrity reference.
Direct answer: A taper fade with a design in the back should be planned around the neckline first. The design needs enough short-hair contrast to show clearly, but it should not cut so high that the fade loses shape. Simple back lines usually grow out cleaner than dense patterns.
Back design taper fade checks
| Check | What to do | Why it matters |
|---|---|---|
| Neckline shape | Decide whether the design follows a rounded, squared, or natural neckline | The neckline controls how the design reads from behind |
| Fade height | Keep enough short hair around the design for contrast | A design disappears if the surrounding length is too similar |
| Line size | Use one or two clear lines before adding detail | Dense patterns are harder to clean up evenly |
| Mirror check | Check the back from more than one angle | Back designs can look different from straight-on and side views |
| Grow-out plan | Know how soon the design will need cleanup | Neckline growth softens the edges quickly |
How to plan a back taper design
- Choose the neckline. Pick a rounded, squared, or natural back shape before adding the design.
- Blend the taper first. Create the fade contrast before cutting detail lines.
- Place the main line. Start with the main line where it can be seen clearly from behind.
- Check symmetry. Use a mirror view and side checks before adding extra marks.
- Keep cleanup shallow. Refresh the edges without cutting deeper every time the line softens.
Back design checklist
- Neckline first: Keeps the back design anchored to the haircut shape.
- Visible contrast: Lets the design show without over-cutting.
- Symmetry check: Prevents one side from drifting higher.
- Simple upkeep: Helps the style grow out cleaner.
For related reference pages, compare the fade consultation guide, the barber lineup tool guide, and the clipper taper guide.
Frequently asked questions
Where does a back taper design go?
A back taper design usually sits near the neckline or lower fade area where short hair gives the line enough contrast from behind.
Does a back design grow out quickly?
Yes. Neckline hair grows in visibly, so back designs usually need cleanup sooner than a normal blended taper.
Should the design be cut before or after the fade?
The fade should be blended first. Cutting the design after blending makes the contrast and placement easier to judge.
What should I ask for at the barbershop?
Ask for the taper height, neckline shape, design placement, and whether the line should be subtle or bold. A reference photo helps.
