
Disclosure: This site may use affiliate links. Product specifications should be checked against manufacturer or retailer pages before purchase.
Editorial update, June 19, 2026: This recovered page was rebuilt as a practical men's grooming-tool guide using restored or current site media. It avoids firsthand-use claims, live shopping data, stock-status statements, score claims, and brand-owned imagery.
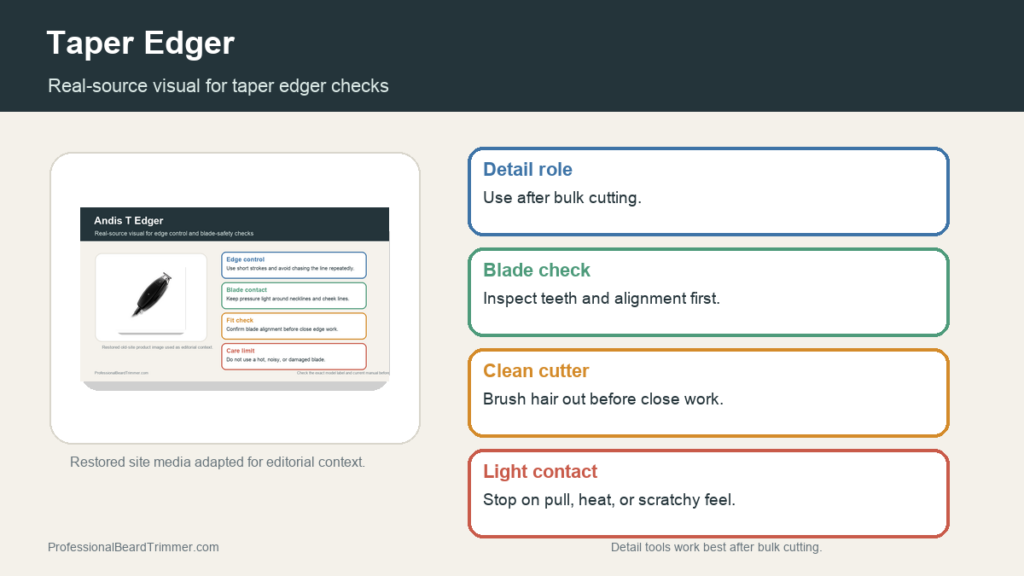
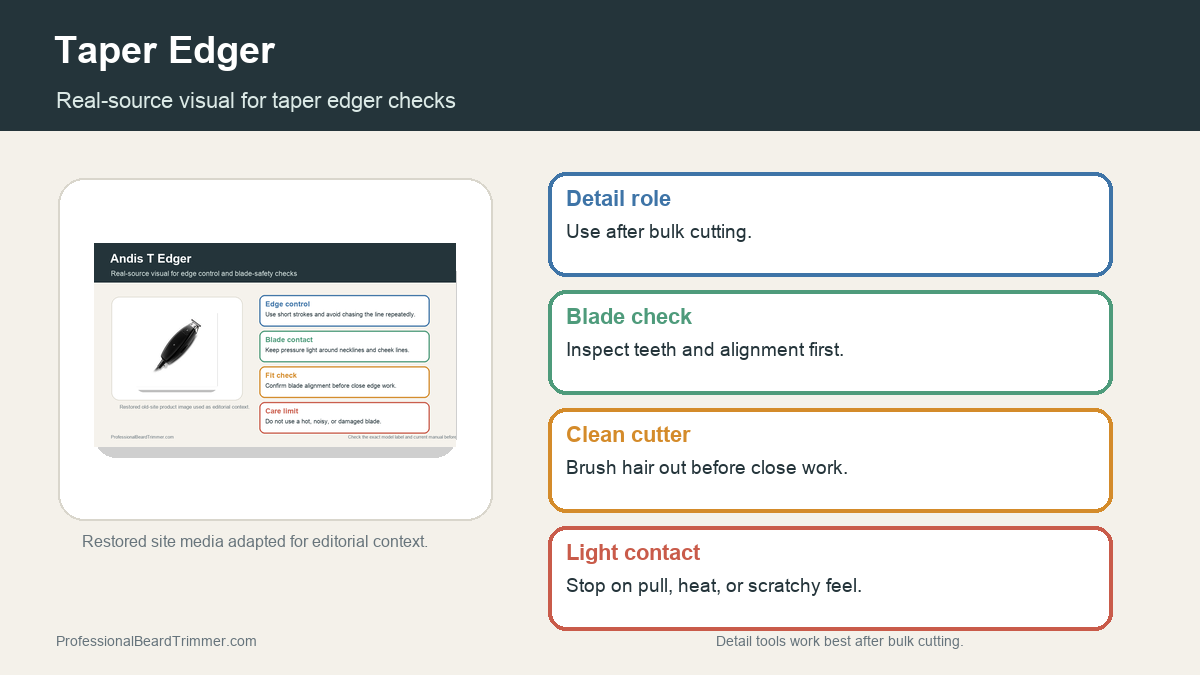
Image note: The image gives detail-edger context from existing site media. It is not official brand art, store evidence, or usage proof for a specific edger.
Direct answer: A taper edger is best treated as a detail tool for edges, necklines, sideburns, and short taper cleanup after bulk hair has already been reduced. The key checks are blade alignment, clean teeth, light pressure, stable power feel, and stopping if the tool pulls or heats.
Taper edger checks
| Check | What to do | Why it matters |
|---|---|---|
| Detail role | Use it for edges, sideburns, necklines, and short cleanup | An edger is not meant to clear heavy bulk hair |
| Blade alignment | Check that the cutter is not too aggressive | Close edge work can irritate skin if alignment is unsafe |
| Tooth condition | Look for bent, chipped, or rough teeth | Damaged teeth are risky near the hairline |
| Cleaning | Brush hair from the cutter before use | Hair buildup causes drag and heat |
| Pressure | Use short light passes | Pressing harder does not make a cleaner line |
How to check a taper edger before detail work
- Reduce bulk first. Use a clipper or guard before the edger when hair is longer than a finishing pass.
- Brush the blade area. Remove loose hair so the cutter can move freely.
- Inspect the teeth. Check the front edge for bends, chips, or uneven contact.
- Test with light contact. Make a short controlled pass before working near sensitive skin.
- Stop on warning signs. Pause if the edger pulls, heats quickly, scratches, or sounds uneven after cleaning.
Taper edger checklist
- Clean blade area: Keeps detail passes smoother and more predictable.
- Safe alignment: Protects skin during close edging.
- Light pressure: Reduces irritation around hairlines and necklines.
- Bulk-first workflow: Uses the edger for finishing rather than heavy cutting.
For related reference pages, compare the Andis T edger guide, the lineup tool guide, and the clipper taper guide.
Frequently asked questions
What is a taper edger used for?
A taper edger is used for short finishing work around edges, sideburns, necklines, and detail areas after longer hair has already been reduced.
Can a taper edger replace clippers?
No. Clippers are better for bulk cutting and guard-based length control. An edger is for close detail work and cleanup.
Why does an edger pull hair?
Pulling can come from trapped hair, dull teeth, weak power, poor blade seating, too much pressure, or using the tool on hair that should be cut down first.
How close should an edger be set?
Use the safest setting that still creates the needed line. A more aggressive setup can increase scratching, pulling, and irritation.
