
Disclosure: This site may use affiliate links. Product specifications should be checked against manufacturer or retailer pages before purchase.
Editorial update, June 18, 2026: This recovered page was rebuilt as a taper-guard guide with a neutral blend diagram, direct answer, guard order, safe process, and FAQ.
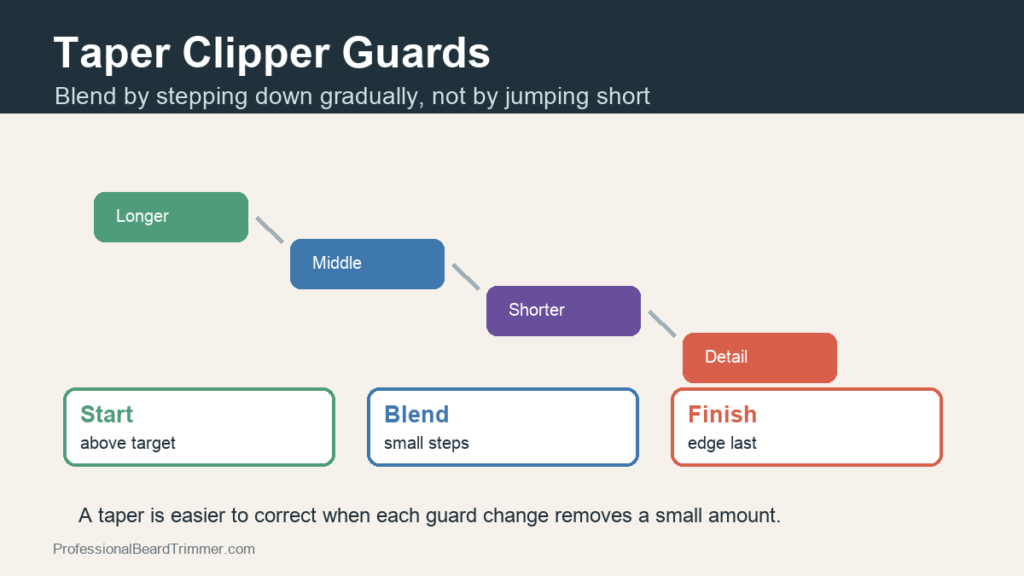
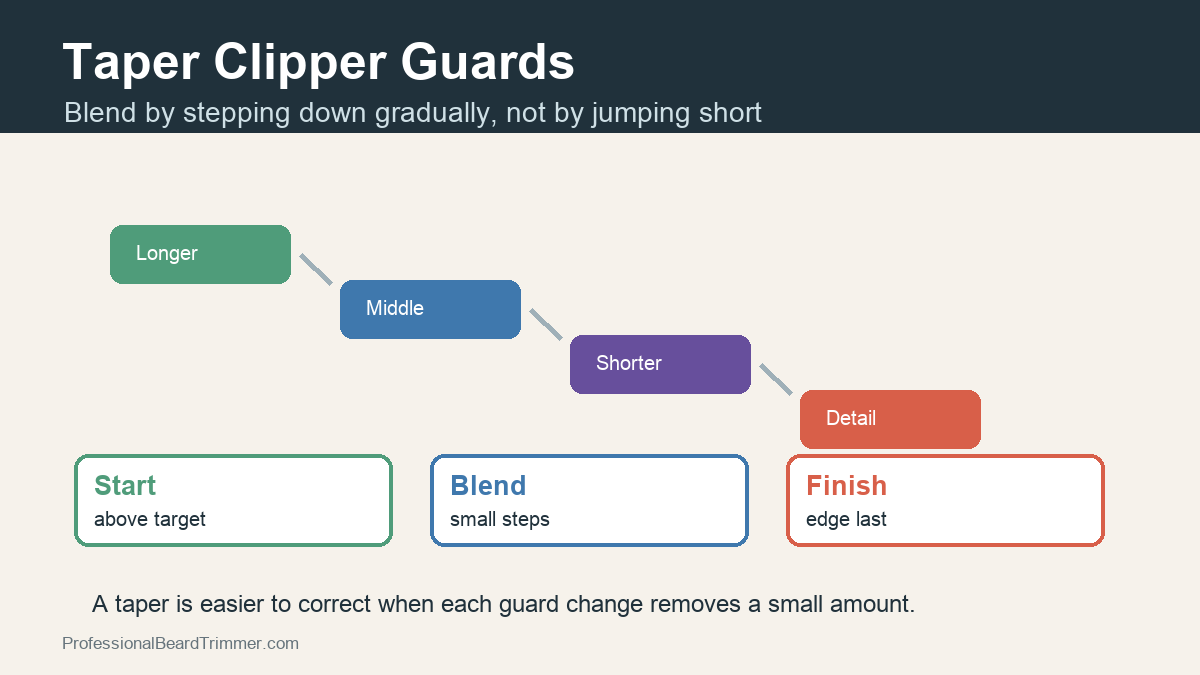
Direct answer: Taper clipper guards are used in a length sequence to blend longer hair into shorter hair. Start with a longer guard, step down gradually, and keep the clipper lever position consistent while you build the blend. Large jumps between guards create harder lines.
Taper guard planning table
| Question | Best answer | Why it matters |
|---|---|---|
| What is the first guard? | Choose a longer guard than the final target | It prevents removing too much hair on the first pass |
| How many steps are needed? | Use small guard changes | Small changes are easier to blend than big jumps |
| When should the lever move? | Keep it consistent until you understand the line | Changing lever and guard at once makes mistakes harder to read |
| Where should detail work happen? | After the main length transition is even | Edges should not decide the bulk shape |
| Can this work on beards? | Yes, for longer beard blending and sideburn transitions | It helps connect beard length to haircut length cleanly |
How to build a taper with guards
- Map the longest area. Identify where you want to preserve the most length before choosing the first guard.
- Create the longest pass. Trim lightly and stop below the area that should stay fuller.
- Step down one guard. Blend only the transition area instead of running the shorter guard over everything.
- Check both sides. Pause often and compare the height and softness of the taper line.
- Finish with detail work. Use a shorter guard or detail blade only after the blend is balanced.
Blend-control checklist
- Guard order: Move from longer to shorter in small steps.
- Lever discipline: Avoid changing too many variables at the same time.
- Pressure: Keep pressure light so the guard does not dig into one area.
- Beard use: Useful for sideburn-to-beard transitions and longer beard shaping.
For related reference pages, compare the open lever vs closed lever guide, the beard trimmer guards guide, and the No. 8 guard guide.
Frequently asked questions
What guards are used for a taper?
A taper usually uses a sequence of guards rather than one guard. The exact numbers depend on the starting length, but the principle is to step down gradually.
Are taper guards different from normal clipper guards?
Most taper work uses normal clipper guards arranged in a controlled order. The technique, lever position, and transition area matter more than a special guard name.
Can taper clipper guards work for beards?
Yes. They can soften the transition from sideburns into a fuller beard or reduce bulk along the cheek area. Use detail tools for crisp lines afterward.
Why does a taper leave a visible line?
A visible line often comes from skipping too much length, changing pressure, or moving the shorter guard too high. Rework the transition with a middle length.
Should I use a clipper lever while tapering?
A lever can help refine the blend, but do not change guard, lever, and pressure all at once. Make one adjustment at a time.
