
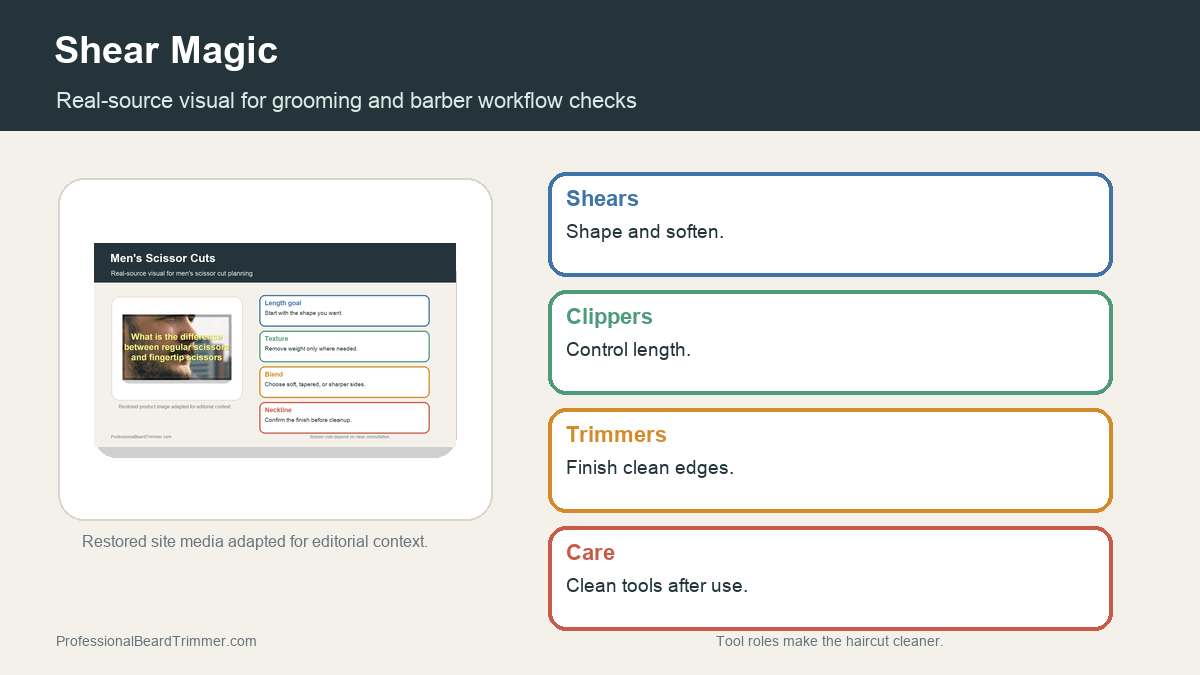
Disclosure: This site may use affiliate links. Product specifications should be checked against manufacturer or retailer pages before purchase.
Editorial update, June 19, 2026: This recovered page was rebuilt as a practical grooming, barber workflow, and tool-care guide using restored or current site media. It avoids local endorsement claims, visit claims, live commercial data, and affiliate language.
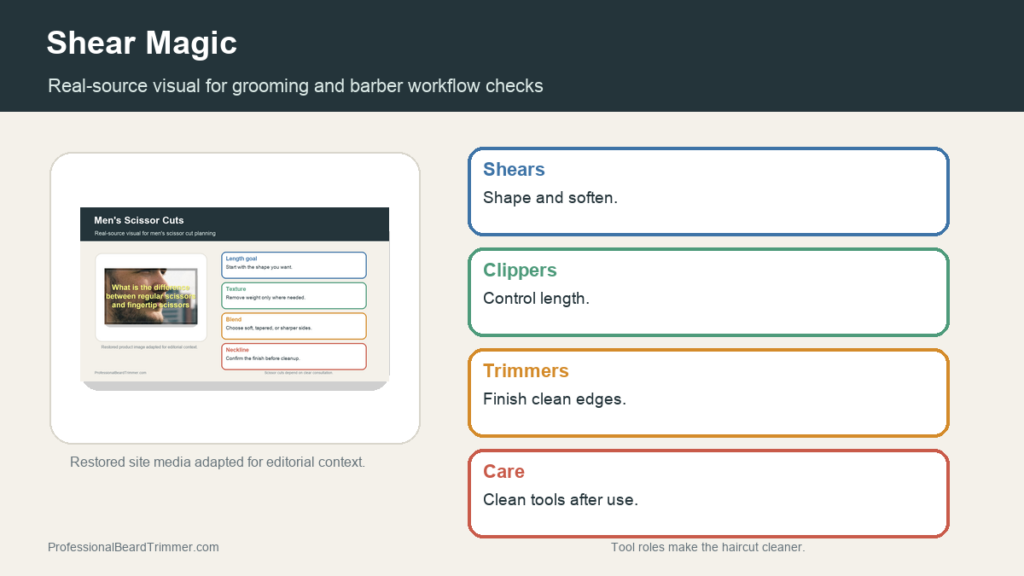
Image note: The image uses restored scissor-cut media for editorial context. It does not claim a service visit or hands-on test.
Direct answer: Shear magic in a haircut comes from matching the tool to the task: shears for shape and texture, clippers for length control and tapering, trimmers for edges, and clean comb work to connect each section without overcutting.
Shear and clipper workflow checks
| Check | What to do | Why it matters |
|---|---|---|
| Tool role | Use shears, clippers, trimmers, and combs for different jobs | Clear roles keep the cut controlled |
| Sectioning | Separate top, sides, back, and neckline before detail work | Sections protect balance |
| Length control | Use guards or finger length consistently | Consistent reference points prevent patchy areas |
| Texture | Use shears lightly for shape and movement | Texture should support the haircut, not hide errors |
| Tool care | Clean shears, guards, and clipper blades after use | Clean tools work more predictably |
How to plan a scissor and clipper cut
- Choose the finished shape. Decide how much length stays on top, sides, back, and around the neckline.
- Map the tool roles. Use clippers for guard-based length, shears for shape, and trimmers for edge cleanup.
- Cut in sections. Work one area at a time and compare both sides before moving to detail work.
- Blend carefully. Connect clipper and scissor areas with gradual adjustments instead of one heavy pass.
- Clean tools. Brush clippers, wipe combs, and store shears safely after the haircut.
Shear magic haircut checklist
- Shears: Shape and soften the haircut where guards are too blunt.
- Clippers: Control length on sides, back, and taper zones.
- Trimmers: Finish neckline, sideburns, and small edges.
- Combs: Guide sections and help connect lengths cleanly.
For related reference pages, compare the men's scissor cut guide, the scissor haircut guide, and the long hair barber guide.
Frequently asked questions
When should a barber use shears instead of clippers?
Shears are useful for shaping, texture, longer top sections, and softening areas where a guard would look too blunt.
Can clippers and shears be used in the same haircut?
Yes. Many haircuts use clippers for sides or taper zones and shears for top length, texture, and softer transitions.
What makes a scissor and clipper cut look balanced?
Balanced sectioning, consistent reference length, gradual blending, and a final check of both sides help the cut look intentional.
How should tools be cared for after the cut?
Brush clipper blades, wipe combs, handle shears safely, and store tools dry so they are ready for the next cut.
