
Disclosure: This site may use affiliate links. Product specifications should be checked against manufacturer or retailer pages before purchase.
Editorial update, June 19, 2026: This recovered page was rebuilt as a practical haircut design and clipper-control guide using restored or current site media. It avoids hands-on test claims, live shopping data, score claims, medical claims, identity stereotypes, and unapproved affiliate language.
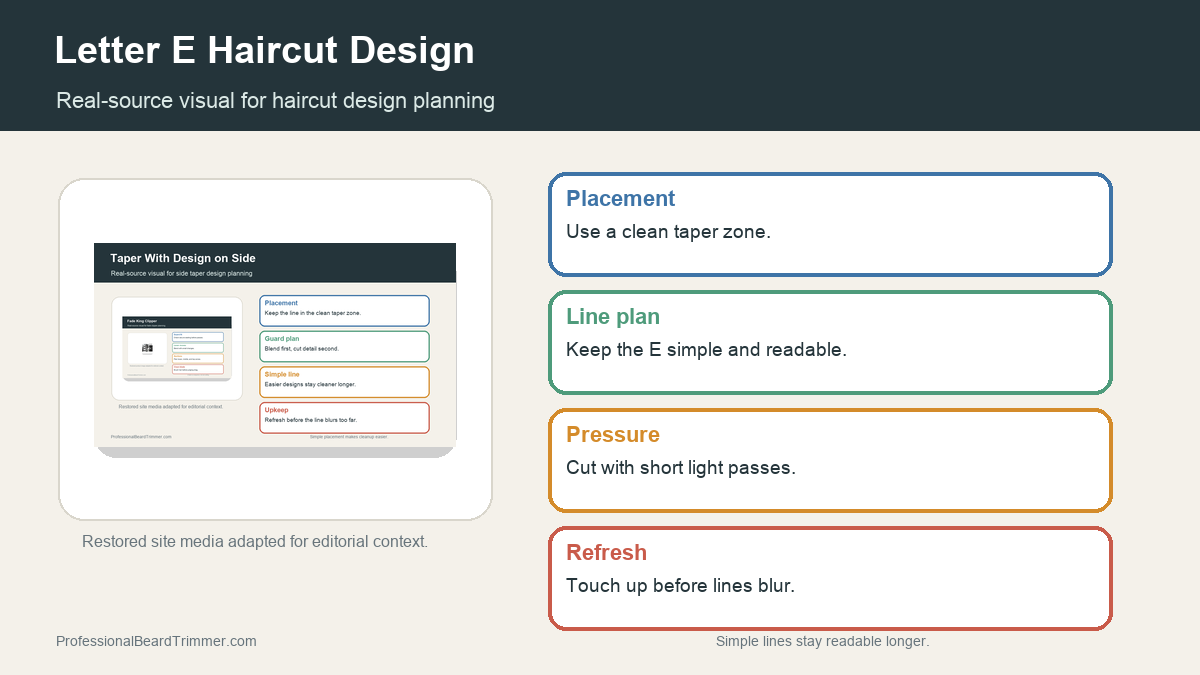
Image note: The image gives haircut-design context from restored site media. It is not a hands-on product test or an official barber portfolio claim.
Direct answer: A letter E haircut design works best when the E shape is placed in a clean taper zone, the bars are kept simple, and the detail trimmer is used with short light passes so the design stays readable after a few days of growth.
Letter E haircut design checks
| Check | What to do | Why it matters |
|---|---|---|
| Placement | Choose a flat side or back taper zone | The letter needs enough clean space to read clearly |
| Line width | Keep the vertical line and bars simple | Thin complex lines blur faster as hair grows |
| Guard blend | Blend the surrounding taper before cutting the design | A clean base makes the letter stand out |
| Trimmer pass | Use short light passes instead of digging in | Heavy pressure can widen or notch the line |
| Refresh timing | Touch up before the outline fully softens | Small refreshes preserve the shape better than full resets |
How to plan a letter E haircut design
- Blend the taper first. Create the side or back taper before drawing the design line.
- Mark the vertical stem. Place the main line where the head shape gives enough flat visual space.
- Cut the bars evenly. Keep the top, middle, and lower bars short enough to stay readable.
- Clean the edges lightly. Use controlled detail-trimmer passes and avoid widening the design.
- Check from a distance. Step back and confirm the letter reads clearly before making more cuts.
Letter E design checklist
- Clean taper base: Makes the letter visible without extra cutting.
- Simple line plan: Keeps the design readable as hair grows.
- Light trimmer pressure: Prevents notches and uneven bars.
- Early refresh: Maintains the design before the outline disappears.
For related reference pages, compare the taper design guide, the neck design haircut guide, and the lineup tool guide.
Frequently asked questions
Where should a letter E haircut design be placed?
A letter E design usually works best on a clean side taper or back taper zone where the vertical line and bars have enough space to stay readable.
What tool is used for a letter haircut design?
A clean detail trimmer is the main tool for the design line, while a clipper and guards prepare the surrounding taper.
How do you keep the design from looking messy?
Keep the shape simple, cut in short passes, avoid excessive pressure, and refresh the design before the outline grows out too far.
Should the taper be cut before the design?
Yes. Blend the taper first so the design is cut into a clean base rather than fighting uneven length around the line.
