
Disclosure: This site may use affiliate links. Product specifications should be checked against manufacturer or retailer pages before purchase.
Editorial update, June 19, 2026: This recovered page was rebuilt as a practical edge, taper, and haircut-design planning guide using restored or current site media. It avoids hands-on test claims, live shopping data, score claims, and unsupported barber-service claims.
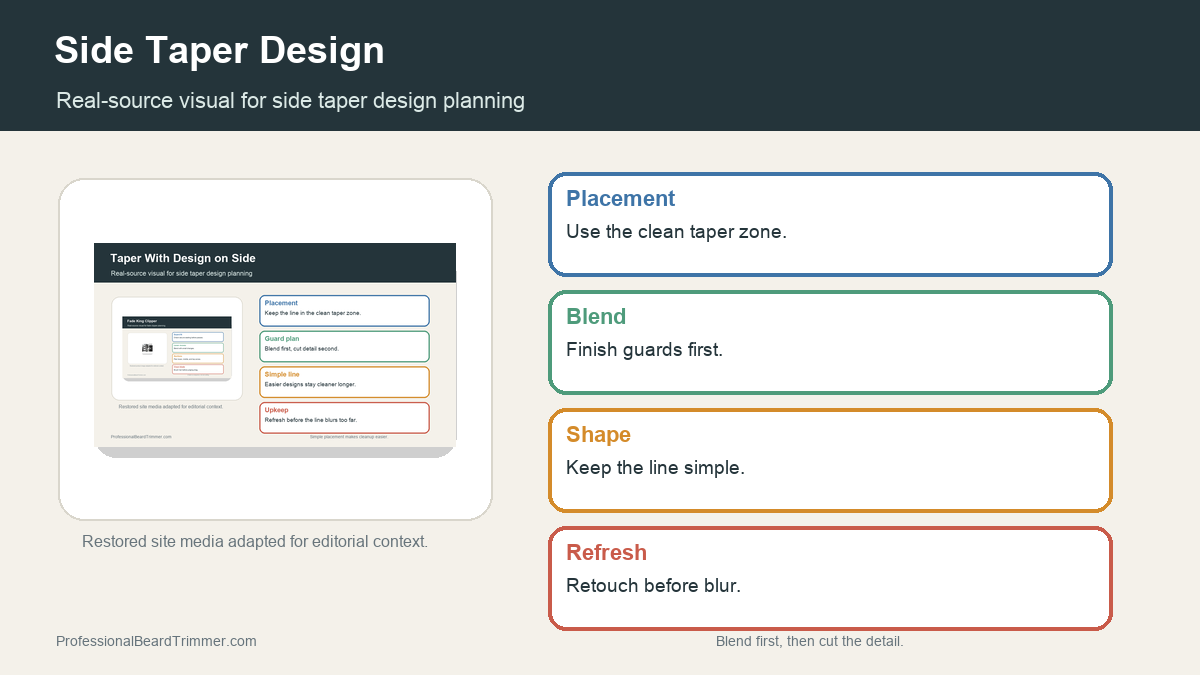
Image note: The image gives side-taper design context from existing site media. It is a planning aid, not a claim that every design fits every haircut.
Direct answer: Designs on a taper work best when the line sits inside the clean taper zone, the blend is finished before detail work, and the design is simple enough to stay readable as hair grows.
Taper design checks
| Check | What to do | Why it matters |
|---|---|---|
| Placement | Keep the design inside a clean side taper zone | Placement decides whether the line reads clearly |
| Blend first | Finish the guard blend before cutting detail | Design work should not hide an unfinished fade |
| Simple shape | Choose one clean line or curve before complex detail | Simple designs stay sharper longer |
| Tool angle | Use controlled trimmer angle and light pressure | Heavy pressure widens the line |
| Upkeep | Plan refresh timing before the line blurs | Designs soften faster than plain tapers |
How to plan designs on a taper
- Finish the taper. Blend the side first so the design has a clean base.
- Pick the placement. Choose where the line should sit before cutting any detail.
- Start simple. Use a simple line or curve before adding extra elements.
- Cut lightly. Use short trimmer passes so the line does not get too wide.
- Check grow-out. Decide whether the design should be refreshed or allowed to fade naturally.
Taper design checklist
- Clean taper base: Makes the design easier to read.
- Simple line: Stays visible longer than crowded detail.
- Controlled trimmer angle: Keeps the design from becoming too wide.
- Refresh plan: Prevents fuzzy lines from weakening the look.
For related reference pages, compare the side taper design guide, the back taper design guide, and the open and closed clipper guide.
Frequently asked questions
Where should a taper design go?
Place it inside the clean taper zone where the hair is short enough for the line to show but not so close that the shape disappears.
Should the taper be blended before the design?
Yes. Blend the taper first, then add the design so the line sits on a controlled base.
Are simple taper designs better?
Simple lines and curves usually stay readable longer and are easier to refresh than crowded detail.
How quickly do taper designs grow out?
They soften as the side hair grows. The exact timing depends on hair growth speed, contrast, and how narrow the line was cut.
