
Disclosure: This site may use affiliate links. Product specifications should be checked against manufacturer or retailer pages before purchase.
Direct Answer
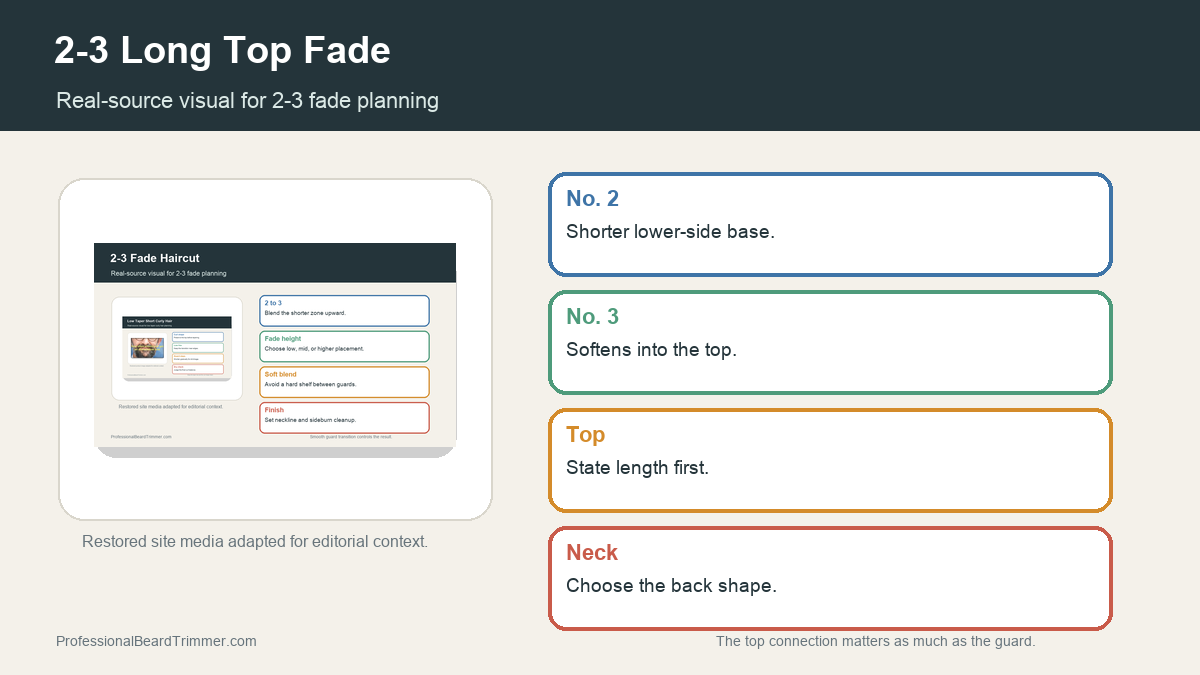
For a 2-3 fade with long hair on top, keep the #2 and #3 work below the parietal ridge and decide whether the top should stay disconnected, softly connected, or fully blended. Protect the top length before cutting the sides, leave enough weight for the chosen silhouette, and remove the transition gradually so the fade does not climb into the long section.
How This Cut Differs From a Standard 2-3 Fade
The defining task is not the two guard zones; it is the connection between short sides and a noticeably longer top. A standard 2-3 fade can finish with a short, evenly connected top. A long-on-top version must preserve movement and styling length while controlling the shelf or weight line where the upper sides meet the top.
The side settings still need to be verified on the exact clipper. A #2 and #3 are relative guard labels, and actual lengths can vary. Review the guard-size explanation and millimeter length chart before treating a number as universal.
Choose the Top Connection First
| Connection | Visual effect | What to tell the barber |
|---|---|---|
| Disconnected | Strong contrast between long top and short sides | Keep the top separate and do not thin the overhang without approval |
| Softly connected | Some weight remains, but the ridge is controlled | Blend the upper sides lightly while preserving top length and shape |
| Fully connected | Smoother transition into the top | Remove the shelf gradually without shortening the main top section |
Choose the connection according to how the hair will be worn. A side-swept or textured style may need controlled weight on one side. A brushed-back style can require a different transition around the temples. Fine hair may show separation quickly, while dense hair can retain a darker ridge even after the lengths are technically blended.
Protect the Long Top Before Fading
- Separate the top section. Identify the recession area, parietal ridge, crown, and intended parting.
- Confirm how much top length stays. Use a measured description or show the styling position with a reference photo.
- Set the #3 upper-side zone below the connection. Avoid entering the top section before the silhouette is agreed.
- Set the #2 lower zone. Keep the shorter work below the planned fade boundary.
- Blend toward the connection. Use small adjustments and check how the top falls naturally before removing weight.
Do not hold the long top tightly in a direction it will never be styled and then judge the connection from that position. Let the hair fall forward, back, and toward the intended part. The transition should support the actual styling routine rather than look balanced only while the hair is clipped out of the way.
Control the Weight Line
A visible weight line can be intentional, especially in disconnected cuts. The problem is an accidental shelf that interrupts the intended shape. Work on the upper-side bulk rather than repeatedly shortening the lower fade. Scissor-over-comb, clipper-over-comb, thinning methods, or point cutting may be used by a trained barber depending on hair type and the desired finish.
For self-trimming, stay within the tools and techniques you can control. If the connection requires significant scissor work around the crown or parietal ridge, a barber is the safer route. The goal is to preserve the long top, not to remove length simply because the side transition is difficult to see.
How to Describe the Cut
A clear request is: “I want a low 2-3 fade, but keep the top long. Use the #2 only in the lower zone, blend into a #3 on the upper sides, preserve the top length, and leave a soft connection rather than taking the fade into the ridge.” Add the styling direction, preferred sideburn and neckline finish, and whether any overhang should remain.
Use the barber terms reference for connection, bulk, texture, fade height, and neckline language. The guide to asking for a fade provides a complete pre-cut checklist.
Long-Top Styling and Grow-Out Checks
Ask how the connection will look when the top is worn naturally and how quickly the side weight may return. A lower fade with a controlled upper-side zone usually leaves more room for later correction than a high fade. Styling product can change separation and direction, but it cannot replace an intentional structural connection.
During grow-out, the upper sides may become bulky before the long top needs shortening. A maintenance visit can focus on the fade, neckline, and side connection while preserving the main top length. Describe this as a side cleanup rather than a full top reduction.
Frequently Asked Questions
Should a long top be disconnected from a 2-3 fade?
It can be, but disconnection is a style choice rather than a requirement. Choose disconnected, softly connected, or fully connected based on the desired silhouette and styling direction.
How do I stop the fade from cutting into the top?
Section the top first, establish the upper boundary, and keep the #3 zone below the ridge until the connection is evaluated. Work on the boundary in small areas instead of raising the entire fade.
What top length works best?
There is no universal length. The useful amount depends on hair density, curl pattern, growth direction, styling goal, and whether the top should sweep, texture, part, or brush back.
