
Disclosure: This site may use affiliate links. Product specifications should be checked against manufacturer or retailer pages before purchase.
Direct Answer
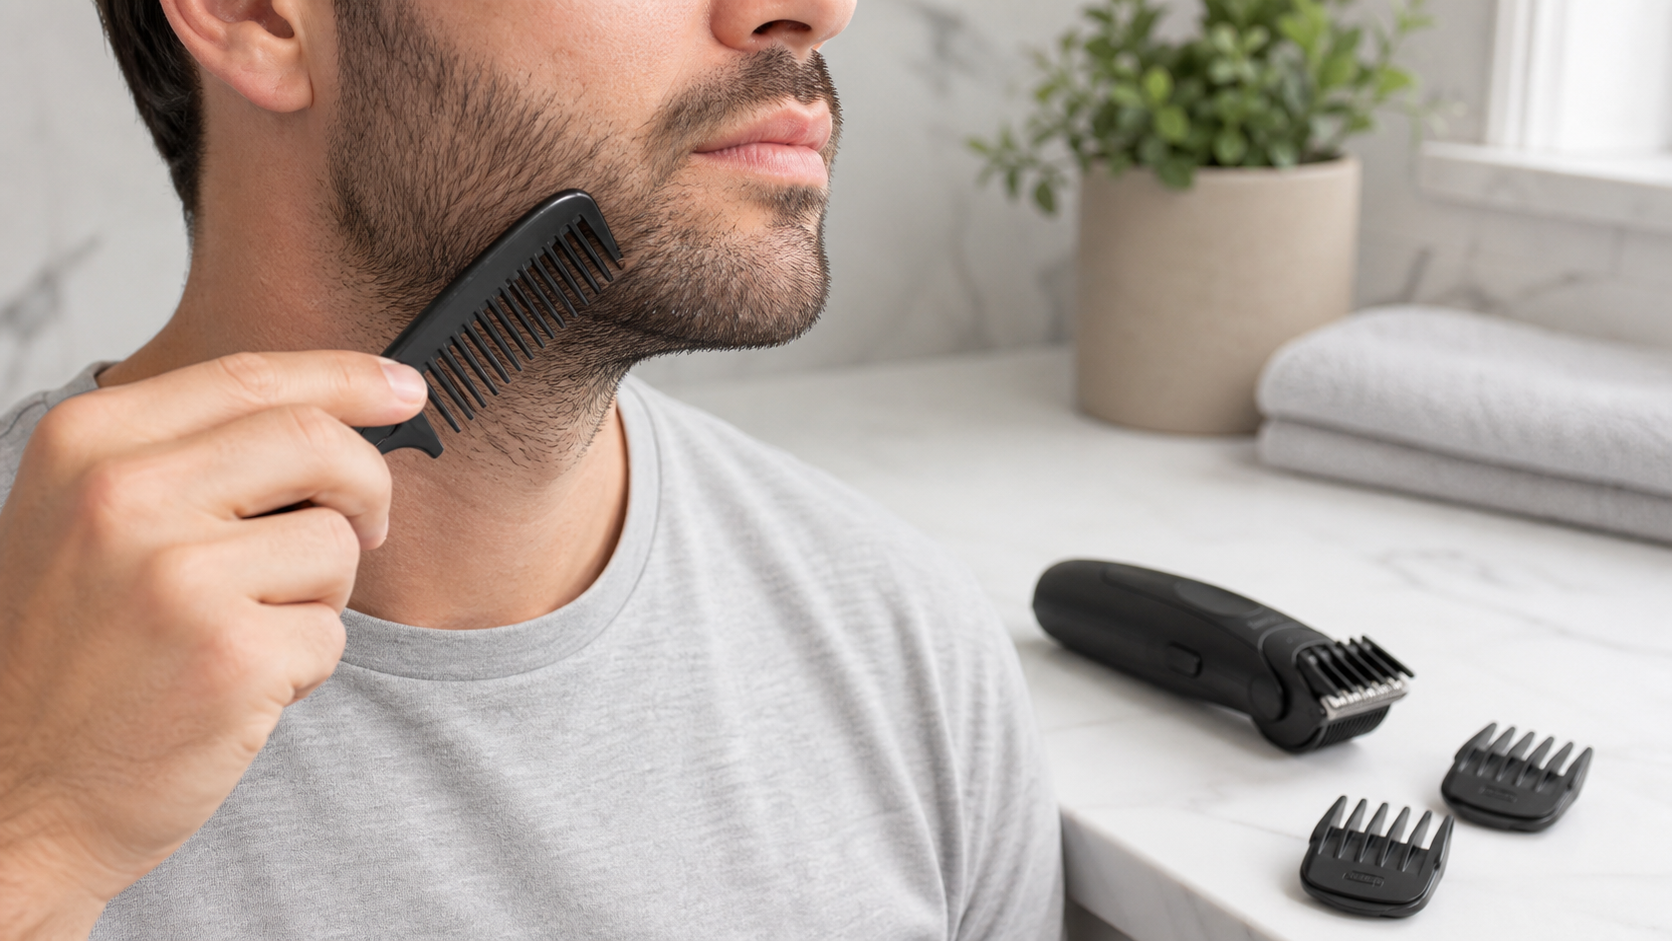
Direct answer: Prepare stubble by checking the skin and beard in even light, washing only when needed, drying both completely for a dry trim, combing the hair into its natural direction, inspecting the blade and guard, and starting with a longer setting than the final target. Make one small test pass before trimming the whole face.
Good preparation makes a short trim easier to judge. Stubble can look uniform from a distance while lying in several directions around the jaw, chin, and neck. Water, skin products, loose cut hair, or a guard packed with debris can also change how the tool moves. The exact trimmer manual remains the authority for wet or dry use, guard installation, cleaning, and lubrication.
Stubble Preparation Checklist
| Check | What to do | Why it matters |
|---|---|---|
| Lighting | Use even front and side light | Shadow can hide uneven length around the jaw |
| Hair condition | Make clean facial hair fully dry for a dry trim | Damp hair can lie flatter and collect inside a guard |
| Growth direction | Comb lightly and map changes in direction | Neck and chin hair often need a different approach from the cheeks |
| Tool condition | Inspect the blade, guard, controls, and power parts | Damage or a loose attachment can make the cut unpredictable |
| Starting length | Choose a longer verified setting first | You can shorten hair later, but cannot restore an overtrimmed area |
Philips support advises washing and drying the beard and face, attaching the appropriate comb, and beginning with the maximum or a higher setting when learning a tool. See the official Philips beard-trimming instructions. Wahl’s stubble trimming guide also directs users to dry the face and start with a higher guard when uncertain. These sources illustrate general preparation, but the instructions for your exact model control.
Step 1: Decide the Stubble Length Before Starting
Choose a target in millimeters rather than relying only on names such as five-o’clock shadow, short stubble, or heavy stubble. Those labels are subjective, while a guard or dial is a physical tool setting. Even then, the same number can look different with dark, light, dense, sparse, straight, or curly facial hair.
If you are uncertain, start one or more settings longer than the planned result. The 0.5mm vs 1mm stubble guide explains how a small numerical change can affect skin visibility and texture. The broader beard trimmer length chart provides context for longer settings. These are visual planning references, not guarantees for a specific face or trimmer.
Step 2: Wash Only When Needed, Then Dry Fully
Remove heavy product residue, sweat, loose skin flakes, and old cut hair before a dry trim. Use your normal gentle cleansing routine and rinse away residue. Pat the beard and surrounding skin dry, then allow the short hairs to return to their normal position. Do not run a corded or dry-use trimmer near water.
Do not assume that a washable head makes the powered handle suitable for wet trimming. “Rinseable attachment,” “washable,” “wet and dry,” and “waterproof” are different model claims. Read the safety and cleaning sections of the manual. If the model is intended for wet use, follow that specific workflow rather than transferring the dry preparation sequence unchanged.
Step 3: Comb and Map the Growth Direction
Use a clean small beard comb or soft brush for a few light passes. The purpose is not to stretch the skin or make every hair stand upright. It is to reveal where hair changes direction and to separate flattened areas so the first pass is easier to evaluate. Around the chin, jaw corners, and neck, growth may turn sideways or form a swirl.
Look at the beard from the front and both sides. Note areas that appear thinner, darker, or more raised. A uniform guard setting does not require identical numbers of passes everywhere. Repeatedly cutting one patch can make it shorter than the rest, especially after loose hair is brushed away.
Step 4: Inspect the Trimmer and Guard
Switch the tool off and disconnect charging power before touching the blade or changing attachments. Check the cutting teeth for bends, chips, corrosion, or packed hair. Confirm that the selected guard is the correct one for the model, sits level, and locks on both sides. Move an adjustment wheel or lever only as the manual permits.
Verify that the battery, charging port, cord, plug, and housing show no swelling, cracking, exposed wire, heat damage, or loose connection. Do not use an unknown charger because the connector fits. If the blade needs oil, apply only the type and amount specified by the manufacturer, then wipe away excess before facial contact. The cleaning and oiling guide explains the general maintenance sequence.
Step 5: Make a Small Test Pass
Attach the longer starting guard and switch the tool on away from the face. Listen for a steady sound. Choose a small, easy-to-blend area under the jaw or near a sideburn, place the guard as instructed, and make one controlled pass with light pressure. Brush away cut hair and inspect the result in normal lighting before changing the setting.
Do not press harder to force a closer cut. Pressure can change skin contact and make a pass less predictable. If the tool pulls, slows, rattles, becomes unusually warm, or leaves an obvious uneven track, switch it off and diagnose the blade, guard, cleanliness, charge, and technique before continuing.
Set the Neckline and Cheek Boundary
For very short stubble, decide whether the neckline and upper cheek line should remain natural or be cleaned. Mark the intended boundary mentally before using a bare blade or finishing head. Remove small amounts from outside the boundary and work toward the line. Avoid cutting deep into the visible beard in one pass.
The beard neckline guide covers placement and symmetry in more detail. A natural neckline can be appropriate for short stubble, while a sharper boundary needs more frequent upkeep. Neither option is universally better.
Common Preparation Mistakes
- Trimming while the beard is still damp from washing.
- Starting at the shortest setting before seeing how the tool cuts.
- Using a guard that is cracked, bent, loose, or meant for another model.
- Ignoring different growth directions under the chin and on the neck.
- Applying oil, balm, or another product immediately before a dry trim when it causes hair to clump.
- Repeatedly passing over one dark area before brushing away loose hair.
- Assuming the tool can be rinsed or used wet without checking the exact manual.
Stop Conditions
Do not continue if the cutting teeth or guard are damaged, the attachment will not lock, the housing or power parts are unsafe, or the tool produces abnormal heat, odor, sound, or movement. Also pause when the skin is broken, painful, or already irritated. This guide does not diagnose skin conditions; use appropriate professional advice for persistent or concerning symptoms.
Frequently Asked Questions
Should stubble be wet or dry before trimming?
Use the condition specified by the exact trimmer manual. For a typical dry trim, wash first if needed, then let the beard and skin dry fully so damp hair does not hide length or pack the guard.
Should I comb very short stubble?
A few light passes with a small beard comb can reveal growth direction and flattened areas. Do not scrape the skin or force a comb through tangles.
What guard should I start with for stubble?
Start longer than the final target, especially with an unfamiliar tool. Confirm the printed millimeter setting in the model manual, make one test pass, and shorten gradually.
When should I stop before trimming?
Stop if the blade or guard is damaged, the attachment will not lock, the tool sounds abnormal, the battery or cord is damaged, or the skin is already broken or painful.
Claim Boundary
This page provides general preparation and tool-check steps. It does not report hands-on testing, promise an irritation-free result, diagnose a skin condition, or replace the exact product manual. Model-specific safety, wet-use, attachment, charging, cleaning, and lubrication instructions remain controlling.
