
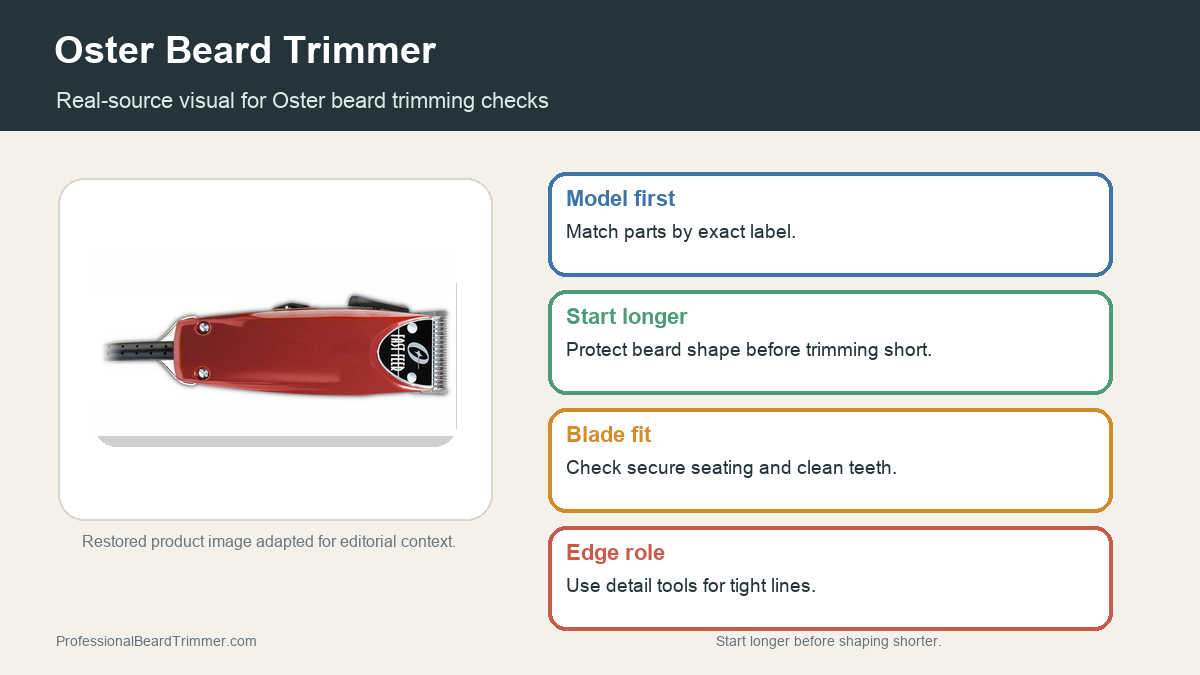
Disclosure: This site may use affiliate links. Product specifications should be checked against manufacturer or retailer pages before purchase.
Editorial update, June 19, 2026: This recovered page was rebuilt as a practical grooming-tool and beard-care guide using restored old-site media. It does not claim hands-on lab testing, current manufacturer specifications, offers, or availability.
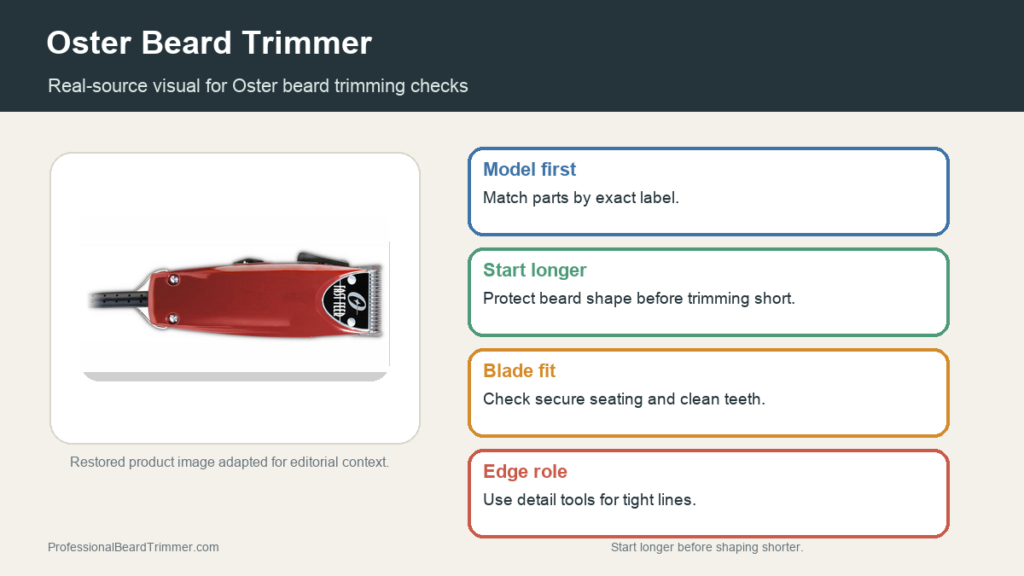
Image note: The image gives real Oster tool-category context from restored site media. Exact trimmer, clipper, guard, and blade fit should still be confirmed from the current model label.
Direct answer: An Oster beard trimmer or clipper-style grooming tool should be checked by exact model label, guard fit, blade seating, cleaning state, power feel, and heat comfort before beard work. Use longer guards first when shaping a beard, then move shorter only after checking the result.
Oster beard trimming checks
| Check | What to do | Why it matters |
|---|---|---|
| Exact model | Read the label before matching blades, guards, or parts | Oster tools can use different blade and guard systems |
| Guard plan | Start longer and step down gradually | Beard mistakes are harder to hide than bulk haircuts |
| Blade fit | Check that the blade sits flat and secure | Poor seating can pull or cut unevenly |
| Cleaning state | Brush hair from the blade channel | Buildup changes cutting feel and heat |
| Tool role | Use clipper-style tools for length control, not ultra-close lines | A detail trimmer is better for tight edges |
How to prepare an Oster grooming tool for beard work
- Identify the exact tool. Use the model label before choosing guards, blades, or replacement parts.
- Choose a longer guard. Begin with more length when the final beard shape is uncertain.
- Clean and inspect the blade. Brush out hair and check that the blade seats securely.
- Trim in controlled passes. Work with light pressure and short sections instead of forcing the tool.
- Finish edges separately. Use a detail trimmer for close cheek lines or necklines if the clipper is too wide.
Oster beard trimming checklist
- Exact model label: Keeps parts and guards accurate.
- Longer first guard: Protects beard length during shaping.
- Clean blade channel: Reduces pulling and heat.
- Detail tool for edges: Improves control around tight lines.
For related reference pages, compare the Oster Titan guide, the Oster Model 10 guide, and the beard trimmer guard guide.
Frequently asked questions
Can an Oster clipper-style tool trim a beard?
It can help reduce bulk or shape longer beard areas, but very close cheek lines, mustache edges, and necklines usually need a smaller detail trimmer.
What should I check before trimming a beard?
Check the exact model label, guard fit, blade seating, blade cleanliness, power feel, heat comfort, and whether the tool is appropriate for the area you plan to trim.
Why should I start with a longer guard?
Starting longer gives you room to adjust the shape. Cutting too short early can create patchy areas that take time to grow back.
Why can a beard trimmer feel rough?
Rough trimming can come from trapped hair, poor blade seating, dry or worn blades, weak power, too much pressure, or using the wrong tool for close edge work.
