
Disclosure: This site may use affiliate links. Product specifications should be checked against manufacturer or retailer pages before purchase.
Direct Answer
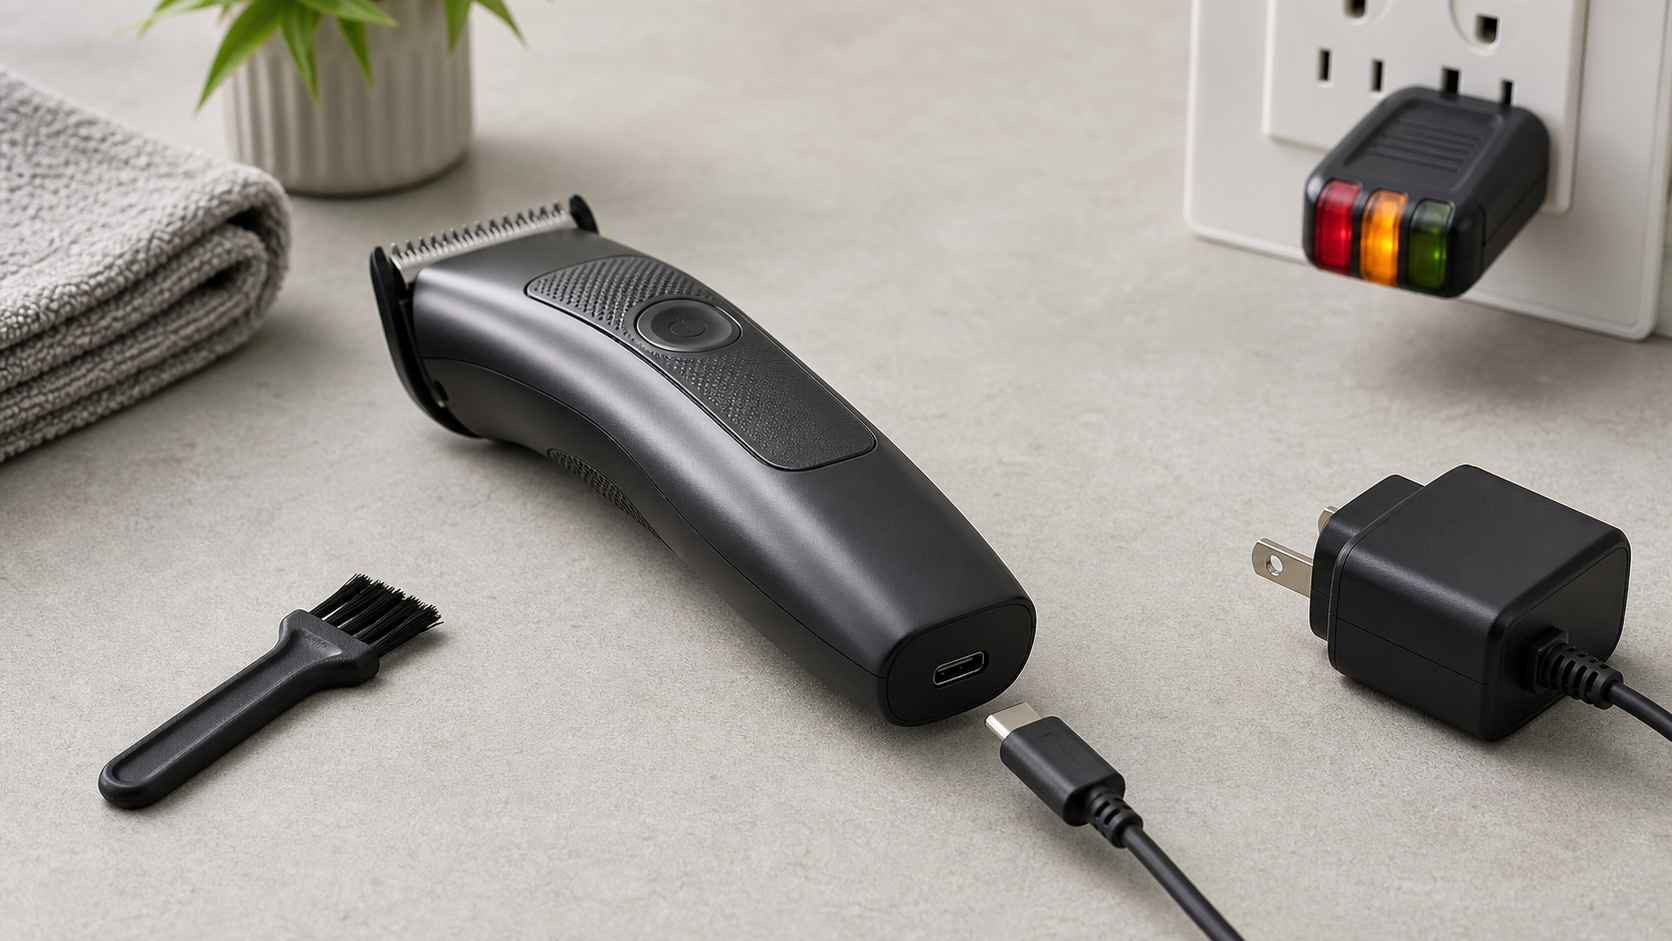
Direct answer: If a beard trimmer is not charging, switch it off, keep it dry, confirm the exact model and approved charger, test a known working outlet, inspect the undamaged cable and port, seat the plug normally, and follow the manual’s indicator and charging-time instructions. Stop if anything is cracked, swollen, wet, scorched, unusually hot, or smells abnormal.
A charging fault is not always a failed battery. The problem may be the wall outlet, an incompatible adapter, a loose cable, incorrect placement on a charging stand, a dirty but dry connection area, or a misunderstanding of the indicator. A trimmer that will not start can also be blocked by packed hair even when its battery has charged. Work through the checks below in order and avoid opening the handle.
1. Identify the Exact Trimmer and Power Setup
Read the full model number from the rating label, handle, packaging, or manual. Include every letter, number, and regional suffix. Products sold under one family name can use different chargers, USB cables, stands, indicator patterns, charge times, and water-use rules. Search the manufacturer’s support site with the complete identity rather than relying on a marketplace title or a similar-looking connector.
Decide which power system you actually have. It may use an integrated wall charger, a proprietary low-voltage plug, a supplied USB cable, a charging stand, replaceable disposable batteries, or true corded operation. These systems are not interchangeable. The corded versus cordless trimmer guide explains the practical differences, but the exact manual remains the controlling source.
Do not assume a trimmer should operate while connected to power. Some washable cordless models are intentionally disabled during charging. That behavior can look like a fault when the battery is empty and the user presses the power button with the cable attached. Check the manual before treating this as evidence of a bad battery or charger.
2. Confirm the Outlet Before Blaming the Trimmer
Use a dry, undamaged lamp or another simple device to confirm that the outlet supplies power. If the outlet is controlled by a wall switch, reset by a bathroom safety device, or part of a power strip, verify that control as well. Do not repeatedly insert a suspect adapter into an outlet that is loose, damaged, discolored, warm, buzzing, or producing an odor.
Philips’ official trimmer-not-charging support guide places a different working outlet among its first checks. This is a useful generic diagnostic step because it separates a building-power problem from the tool, but the rest of that Philips article applies only to the models and charging systems it names.
If the trimmer charges from one confirmed outlet but not another, stop troubleshooting the trimmer. The outlet or upstream electrical system needs appropriate attention. Do not dismantle an outlet, adapter, or extension lead as part of grooming-tool maintenance.
3. Verify Charger and USB Compatibility
Use the original undamaged charger or cable when available. If it is missing, match the exact manufacturer replacement part or the electrical requirements stated in the model manual. Physical fit does not prove electrical compatibility. The plug shape, polarity, output voltage, current requirement, USB power source, and stand connection all matter.
For supported Philips USB-charging groomers, the official charging instructions describe model-specific USB and wall-adapter requirements and direct readers to the exact manual for charging time. Do not transfer those numbers to another brand or model. A laptop port, multi-port hub, travel adapter, or low-output power source may behave differently from the approved wall setup.
Inspect the cable and adapter without opening them. Stop using either part if insulation is split, a pin is bent, the plug is loose, the housing is cracked, or there are scorch marks, swelling, odor, or unusual heat. Do not tape over damaged insulation or hold a loose connector at an angle to force charging.
4. Check the Connection Without Forcing It
With the tool switched off and dry, look at the charging port under bright light. Remove only loose surface debris with the dry method allowed by the manual. Do not insert metal objects, pins, liquid cleaner, or compressed air into the port. If the tool was recently rinsed and the manual permits rinsing, allow it to dry exactly as instructed before connecting power.
Align the approved plug with the port and press it in only with normal hand pressure. A new connector may feel firm, but it should not require twisting, levering, or excessive force. If the plug will not sit squarely, compare its shape and part number again. For a stand, confirm that the trimmer rests in the documented direction and that the contacts meet cleanly.
If direct-cable charging works but the stand does not, the stand, its cable, its contact position, or its compatibility becomes the narrower troubleshooting area. Do not bend contact pins or add conductive material to improve the connection.
5. Read the Indicator Correctly
Charging indicators are not standardized. A light may flash, remain solid, change color, switch off after a period, appear only briefly, or be absent. Some displays also show travel lock, low battery, cleaning, or blade-maintenance symbols. Use the exact manual to identify what the light means before deciding the battery is not accepting charge.
Record what happens when power is connected: no light, a brief flash, a repeating pattern, a steady light, or a display that turns off. Also note whether the adapter or handle becomes mildly warm or unusually hot. Do not use temperature alone as a charging test, and disconnect immediately if heat is excessive, increasing, or accompanied by odor or deformation.
Allow the documented charging period. A deeply discharged or long-stored battery may not produce an immediate visible response on some models, while other models should show an indicator promptly. Do not invent a universal waiting time. The manufacturer instructions should provide the relevant first-charge, normal-charge, and indicator details.
6. Separate “Not Charging” From “Not Turning On”
After the approved charging period, disconnect the cable if the manual requires cordless use and try the normal power sequence. If the motor does not start, the cause may still be mechanical rather than electrical. Packed hair, a jammed cutter, a damaged blade, an incorrectly seated head, or an active travel lock can prevent operation or make the tool appear powerless.
Follow the model’s cleaning instructions and inspect only user-removable parts. The beard trimmer cleaning and oiling guide provides a general dry-first maintenance sequence. If the tool pulls, slows, or sounds abnormal after it starts, use the trimmer pulling-hair troubleshooting guide instead of continuing to charge it.
A removable disposable-battery trimmer is a separate case. Confirm the exact battery type, orientation, and replacement rules in its manual. Do not mix old and new cells or different battery chemistries. A rechargeable sealed battery should not be treated as a user-replaceable cell unless the manufacturer explicitly provides that procedure.
7. Decide Whether to Contact Support
Contact the manufacturer or an authorized service route when the correct charger, a known working outlet, normal plug seating, manual-defined charging time, and allowed cleaning checks do not restore normal behavior. Provide the full model number, serial information if requested, charger part number, indicator pattern, purchase date, and the steps already completed.
For an older or secondhand tool, confirm whether the charger came with that exact unit and whether replacement parts remain supported. The beard trimmer buying guide includes replacement-support checks that can help when repair cost, part availability, and tool age make replacement a more practical decision.
Do not open a sealed handle, probe the battery, bypass a switch, bridge contacts, or substitute an improvised power supply. Lithium battery damage can create serious heat and fire hazards, and a sealed grooming tool may also rely on insulation and moisture protection that opening the housing compromises.
Stop Conditions
- Cracked, cut, loose, discolored, or scorched cable or adapter.
- Swollen, split, leaking, or deformed trimmer housing.
- Water or cleaning liquid inside a port or on a non-washable power component.
- Unusual heat, smoke, sparks, buzzing, or chemical or burning odor.
- A plug that requires force, twisting, tape, or pressure to remain connected.
- A charger or battery specification that cannot be verified for the exact model.
Disconnect power when it is safe to do so and follow manufacturer support or appropriate local electrical and battery-disposal guidance. Do not continue testing a visibly damaged component.
Frequently Asked Questions
Why is my beard trimmer not charging?
Common first checks are the outlet, the exact charger or USB power source, the cable and adapter condition, the plug seating, and the charging stand position. The model manual controls compatibility, charging time, indicator behavior, and service steps.
Can I use any charger that fits the trimmer?
No. A connector that physically fits may still have the wrong electrical specification or wiring. Use the original charger, an exact manufacturer replacement, or a power source explicitly allowed by the model manual.
What if the charging light does not turn on?
Some trimmers use different light patterns, delay the indicator, or have no charging light. Confirm the model instructions, test a known working outlet, seat the correct cable normally, and allow the documented charging time before deciding the indicator has failed.
When should I stop troubleshooting a trimmer?
Stop immediately if the cable, adapter, port, or housing is cracked, swollen, scorched, wet, unusually hot, or giving off an odor. Do not open a sealed handle or attempt internal battery repair unless the manufacturer provides a user-service procedure.
Claim Boundary
This page provides general first-check troubleshooting and does not diagnose a specific product, report hands-on testing, guarantee a repair, or authorize electrical or battery work. The exact model manual controls charger compatibility, USB requirements, water exposure, indicator meaning, charge time, cleaning, disassembly, service, and disposal.
