
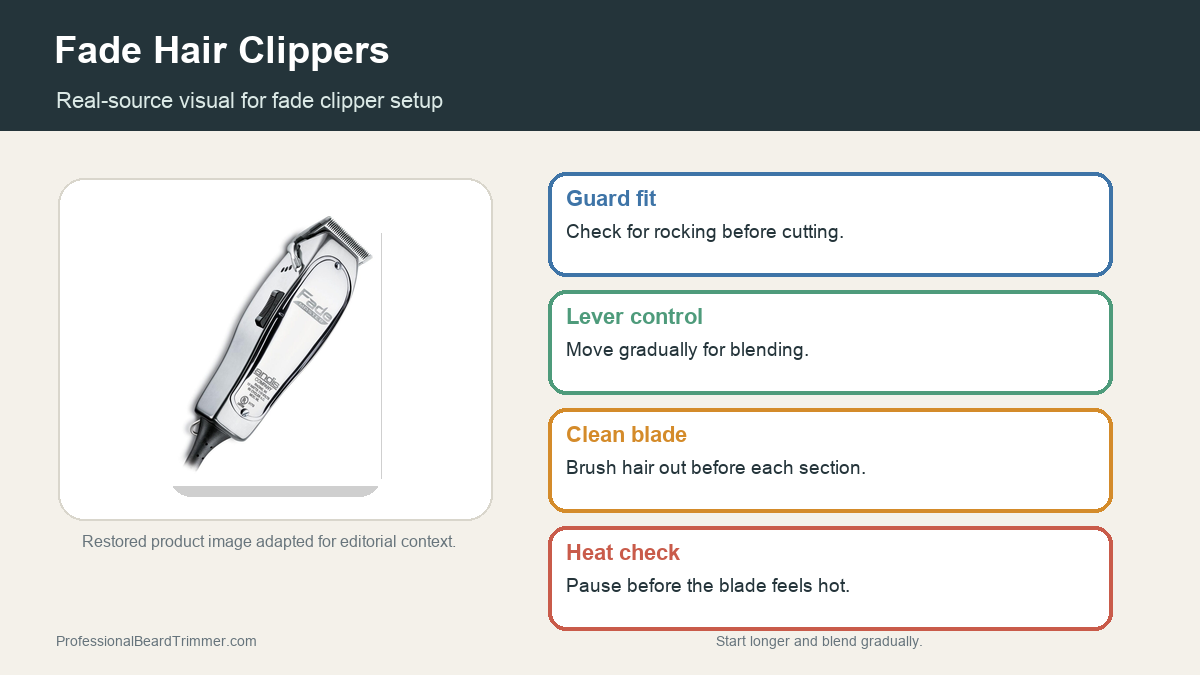
Disclosure: This site may use affiliate links. Product specifications should be checked against manufacturer or retailer pages before purchase.
Editorial update, June 19, 2026: This recovered page was rebuilt as a practical grooming-tool and beard-care guide using restored old-site media. It does not claim hands-on lab testing, current manufacturer specifications, offers, or availability.
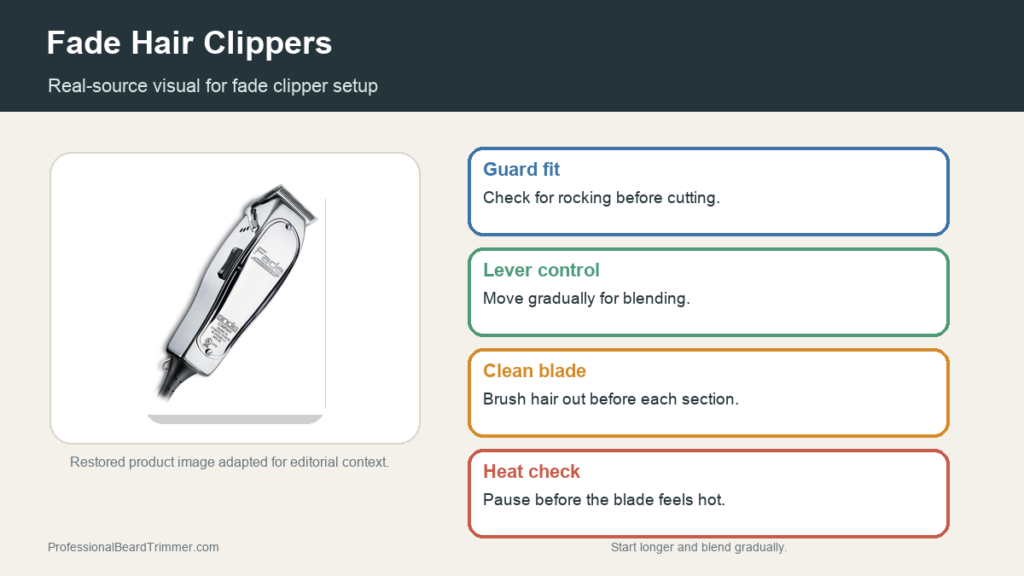
Image note: The image gives real clipper-category context from restored site media. Exact guard, lever, and blade behavior still depend on the actual clipper model.
Direct answer: Fade hair clippers should be judged by guard seating, lever movement, blade cleanliness, steady power, heat comfort, and controlled pass length. A good fade setup starts longer, checks each guard change, and avoids forcing a dirty or hot clipper through dense hair.
Fade clipper checks before cutting
| Check | What to do | Why it matters |
|---|---|---|
| Guard fit | Attach each guard and check for rocking or lifting | Loose guards can change the fade length |
| Lever movement | Move the lever through its range before cutting | Smooth lever movement supports blending control |
| Blade cleaning | Brush hair from the teeth and channel | Clean blades cut more predictably |
| Power feel | Listen for steady cutting before dense sections | Dragging can create rough passes |
| Heat comfort | Pause if the blade or case gets uncomfortable | Long fade work needs comfort checks |
How to prepare clippers for a fade
- Start with clean blades. Brush loose hair from the clipper before evaluating power or lever feel.
- Test guard seating. Attach the guard and check that it stays secure during a light pass.
- Set a longer first pass. Begin with more length when the final blend is uncertain.
- Use controlled sections. Work in small passes so the clipper does not drag through too much hair at once.
- Recheck heat and sound. Stop if heat, vibration, or pulling continues after cleaning.
Fade clipper workflow checklist
- Secure guards: Keep fade lengths consistent.
- Smooth lever movement: Supports controlled blending.
- Clean blade channel: Reduces drag and heat buildup.
- Gradual length changes: Make corrections easier during a fade.
For related reference pages, compare the Wahl Magic Clip guide, the open vs closed clipper guide, and the clipper taper guide.
Frequently asked questions
What makes clippers useful for fade work?
Fade clippers are useful when the guards fit securely, the lever moves predictably, the blade stays clean, and the motor cuts steadily through controlled sections.
Should I start a fade with the shortest guard?
Usually no. Starting longer gives room to adjust the blend and reduces the risk of cutting a visible area too short too early.
Why do clippers leave harsh fade lines?
Harsh lines can come from skipping guard steps, moving too fast, poor lever control, uneven pressure, dull or dirty blades, or trying to blend too much hair at once.
When should I stop and clean the clipper?
Stop and clean when the clipper begins dragging, heating, sounding uneven, or leaving rough passes despite steady technique.
