
Disclosure: This site may use affiliate links. Product specifications should be checked against manufacturer or retailer pages before purchase.
Direct Answer
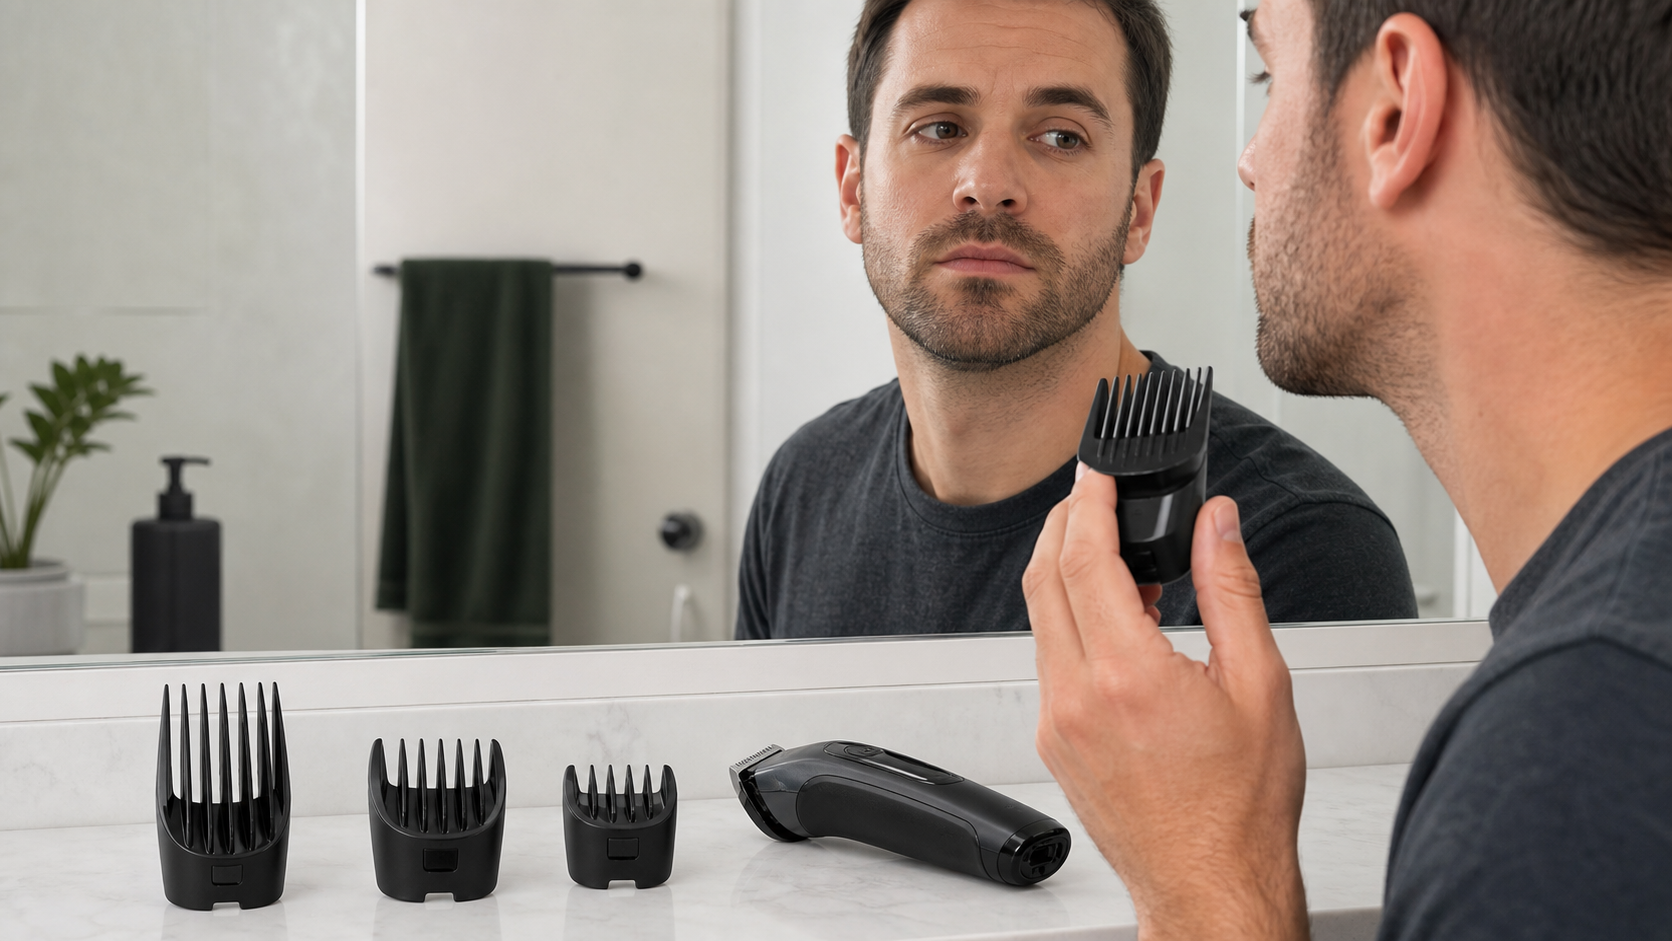
Direct answer: Choose a stubble guard by deciding the target length in millimeters, identifying the exact guard or dial setting for your trimmer, and starting longer than the final goal. Check that the attachment locks securely, make one small test pass on clean dry hair, brush away clippings, then shorten only one verified step at a time.
A guard number is not a universal length. One brand may print a number, another may print millimeters, and an adjustable comb may use a dial whose range depends on the attached head. Beard density, color, growth direction, skin contrast, and repeated passes also change how a measured length looks. Choose from the exact model documentation and a controlled test, not from a photo or another person’s result.
Stubble Guard Decision Checklist
| Decision | What to verify | Why it matters |
|---|---|---|
| Target length | Approximate millimeters, not only “light” or “heavy” stubble | Style labels do not define a repeatable setting |
| Model identity | Complete trimmer model and regional suffix | Similar tools can use different combs and ranges |
| Guard value | Millimeters stated in the manual or attachment list | Guard numbers are not cross-brand standards |
| Attachment fit | Both rails, tabs, or latches are seated and stable | A tilted or loose comb can change the cut |
| Test area | Small visible zone at a longer setting | You can shorten later but cannot restore removed hair |
| Evaluation | Loose hair removed and result checked in even light | Clippings and shadow can imitate uneven length |
Philips’ official OneBlade trimming instructions explain that its adjustable comb settings relate to millimeters and recommend beginning with the longest setting before reducing it. The Philips MG3900 manual similarly identifies specific stubble and beard guards, says their numbers relate to remaining millimeters, and advises first-time users to start at the maximum length. These examples support a conservative selection process; they do not define the values or attachment method for another model.
Step 1: Define the Stubble Result in Millimeters
Start with the amount of hair you want to retain. Terms such as five-o’clock shadow, designer stubble, short stubble, and heavy stubble are descriptive rather than standardized. The same measured length can look lighter on blond or sparse hair and darker on coarse, dense, or high-contrast hair.
If you already have a repeatable result, record the actual millimeter setting, exact guard identity, and tool model. If you are choosing for the first time, use a conservative range rather than assuming the shortest guard will look subtle. The 0.5mm vs 1mm guide explains why a half-millimeter difference can noticeably change skin visibility without promising the same appearance on every beard.
Do not use a photograph to estimate an exact setting. Camera distance, lighting, hair color, density, and image processing can change the apparent length. A reference image can communicate an overall finish, but the final setting still needs to be tested on the actual beard.
Step 2: Identify the Exact Guard System
Read the complete model number from the handle, rating plate, charging base, package, or official manual. Then identify whether the tool uses fixed snap-on guards, an adjustable comb, an integrated dial, interchangeable heads, or a combination of these. Record the attachment part number when one is provided.
The beard trimmer guard-size guide explains fixed, adjustable, and integrated systems. Use it to understand the terminology, then return to the exact model instructions for the real values. A number 1 comb, a first dial position, and a black guard from another kit are not automatically equivalent.
Do not force a guard because its width looks close to the blade. Check the rails, rear tab, side clips, hinge, and adjustment mechanism. An incompatible comb may sit crooked, release during a pass, expose the wrong part of the cutter, or give a length unrelated to its label.
Step 3: Translate the Label Into Remaining Hair Length
Look for a manufacturer table or diagram that states the length remaining after trimming. Some products print millimeters directly on fixed combs. Others use a wheel or slider, and some combine a base setting with a particular attachment. Read the units carefully and do not confuse millimeters with inches.
The beard trimmer length chart provides visual planning context across common ranges. It is not a compatibility chart and does not override a manual. Use the chart to compare intended outcomes, while using the model documentation to choose the physical setting.
If no reliable manual or attachment list can be found, do not guess from a marketplace title. Contact the manufacturer with the full model identity or use a verified replacement route. An unidentified guard is unsuitable for a controlled stubble trim even when it appears to fit.
Step 4: Inspect and Lock the Guard
Switch the trimmer off and disconnect charging power before fitting or changing an attachment. Inspect the guard for cracked teeth, bent rails, worn tabs, missing pieces, or product buildup. Check the blade for bent or broken teeth and remove packed hair as the exact cleaning instructions allow.
Attach the guard in the documented direction and confirm that both sides sit level. Move an adjustment wheel or slider through its allowed range while the tool is off, then return it to the longer starting setting. The position should remain stable under normal handling without rocking or lifting away from the cutting head.
If the guard releases, changes setting, or sits unevenly, do not compensate with hand pressure. Use the loose guard troubleshooting guide to check identity, seating, damage, debris, and replacement boundaries before trimming.
Step 5: Prepare a Controlled Test Area
For a normal dry trim, make the beard and skin clean and fully dry unless the exact model specifically directs another method. Comb or brush the stubble lightly to reveal growth direction. Use even front and side lighting so a shadow does not make one area appear shorter or darker.
The stubble preparation guide covers drying, growth mapping, tool inspection, and stop conditions. Choose a small area that is easy to see and blend, such as a section near the sideburn or under the jaw. Avoid starting in the center of the mustache, chin, or another highly visible focal point.
Begin with a documented setting longer than the target. Switch the tool on away from the face, listen for normal operation, then place the guard as the manual shows. Make one smooth pass with light pressure. Do not tilt the front teeth into the skin or repeatedly work the same strip before evaluating it.
Step 6: Evaluate Before Moving Down One Step
Switch the tool off and brush away clipped hair from both the face and guard. Wait for compressed hairs to settle, then inspect the test area in normal room light and close mirror light. Compare texture, skin visibility, and the transition into untouched hair.
If the result is longer than intended, lower the setting by one documented increment or use the next verified guard. Repeat the same small test process. Do not jump from a long guard directly to a bare blade. Small steps preserve correction options and make it easier to identify which setting produced the change.
Once the target is confirmed, record the model, attachment, setting, hair condition, and date. That note is more useful for the next trim than a generic guard number. Recheck after replacing a blade, guard, or tool because the physical system may have changed.
Account for Density and Growth Direction
A dense patch can look longer even when the hairs have been cut to the same nominal length. A swirl under the chin or sideways growth along the jaw may feed through the guard differently from downward cheek growth. Map these areas before assuming a shorter setting is necessary.
Use smooth passes in the directions permitted by the model instructions, keeping the intended guard surface in contact. Do not press harder over dense areas. Remove accumulated hair from the comb during the session because packed channels can reduce how consistently hair enters the cutter.
Compare both sides after loose hair is removed. The left-right stubble workflow explains matched zones and alternating passes. Natural density and anatomy can remain visually different even when the trimming process is consistent.
Common Guard-Selection Mistakes
- Choosing from a style name without defining an approximate millimeter target.
- Assuming one brand’s guard number applies to another product.
- Starting at the shortest available setting because the goal is called stubble.
- Using a similar-looking guard without verifying the exact model or part identity.
- Changing settings before brushing away loose hair and checking in even light.
- Pressing harder or tilting the guard to make one area look lighter.
- Making repeated passes over a dense patch without confirming the hairs are longer.
- Continuing with a cracked, loose, rocking, or shifting attachment.
When to Stop
Stop if the guard or blade is damaged, the attachment will not lock, the setting changes during normal movement, or the cutter rattles, pulls, stalls, shifts, smells unusual, or becomes unexpectedly hot. Also stop for a cracked housing, damaged cable or charger, swelling, liquid where the model does not permit it, or painful or broken skin.
Do not open a sealed handle, reshape a guard with heat, tape an attachment in place, or substitute an unverified comb. Use the manufacturer’s parts and service route. This selection guide does not diagnose skin conditions or authorize internal electrical or battery repair.
Frequently Asked Questions
What guard should I use for short stubble?
Choose by the millimeters of hair the exact guard or dial is documented to leave, not by a universal guard number. Start longer than the target, make a small test pass, and reduce one verified step at a time.
Is a number 1 guard always 3 millimeters?
No. Guard numbers, colors, comb shapes, and dial markings can differ by brand and product family. Confirm the millimeter value in the exact model manual or attachment list before trimming.
Why does the same guard look shorter on one area?
Hair density, color, growth direction, skin contrast, guard angle, pressure, and repeated passes can change the appearance. Remove loose hair and compare in even light before changing the setting.
Should I trim stubble without a guard?
Only when the exact tool instructions allow unguarded trimming and that very short result is intentional. A bare cutter can remove much more length and is not a substitute for an unidentified or loose guard.
Sources and Claim Boundary
Primary references reviewed in July 2026 are the Philips OneBlade trimming instructions and Philips MG3900 manual linked above. This page provides a generic guard-selection workflow. It does not define universal guard numbers, verify third-party compatibility, report hands-on testing, guarantee a visual result, or replace the exact model’s attachment, direction, cleaning, lubrication, wet-use, charging, and safety instructions.
