
Disclosure: This site may use affiliate links. Product specifications should be checked against manufacturer or retailer pages before purchase.
Direct Answer
Direct answer: You can trim stubble with the grain as a conservative first pass or to map how each area grows, but it may leave low-lying hairs longer. For an even final length, many guarded trimmers direct you to move against local growth with the comb flat, light pressure, and smooth passes. Always follow the exact model manual.
“With the grain” means moving in the same direction that the hair naturally lies. “Against the grain” means moving toward the roots from the opposite direction. The direction is local, not universal: cheek hair may point down, jaw hair may angle backward, and neck hair may turn upward or form a swirl. A useful workflow maps each zone first, uses a longer verified guard, and changes direction only as the trimmer instructions allow.
With-the-Grain and Against-the-Grain Roles
| Pass | Useful role | Main limitation |
|---|---|---|
| With the grain | Maps growth, preserves correction room, and can make a conservative first reduction | Low-lying hairs may feed into the guard less consistently |
| Across the grain | Can reach sideways growth around a jaw corner or swirl when the manual permits it | It is not a substitute for identifying the true local direction |
| Against the grain | Often provides the manufacturer-recommended guarded finishing pass | Excess pressure, tilt, or repeated passes can create uneven areas |
| Detailing without a guard | Edges only when the exact tool permits it | The bare cutter removes every hair it touches and is not a length-setting pass |
Philips’ official OneBlade beard-trimming instructions direct users to keep the comb in full contact and trim against the direction of growth for the best result. A Philips groomer manual adds that hair does not all grow in one direction, recommends trying upward, downward, or across movements, and says to use smooth, gentle strokes with the guard surface against the skin. The Philips irritation guidance also favors an effective against-growth pass rather than repeatedly covering the same area. These are model-family examples, not universal instructions for every trimmer.
Step 1: Map the Grain Before Switching On
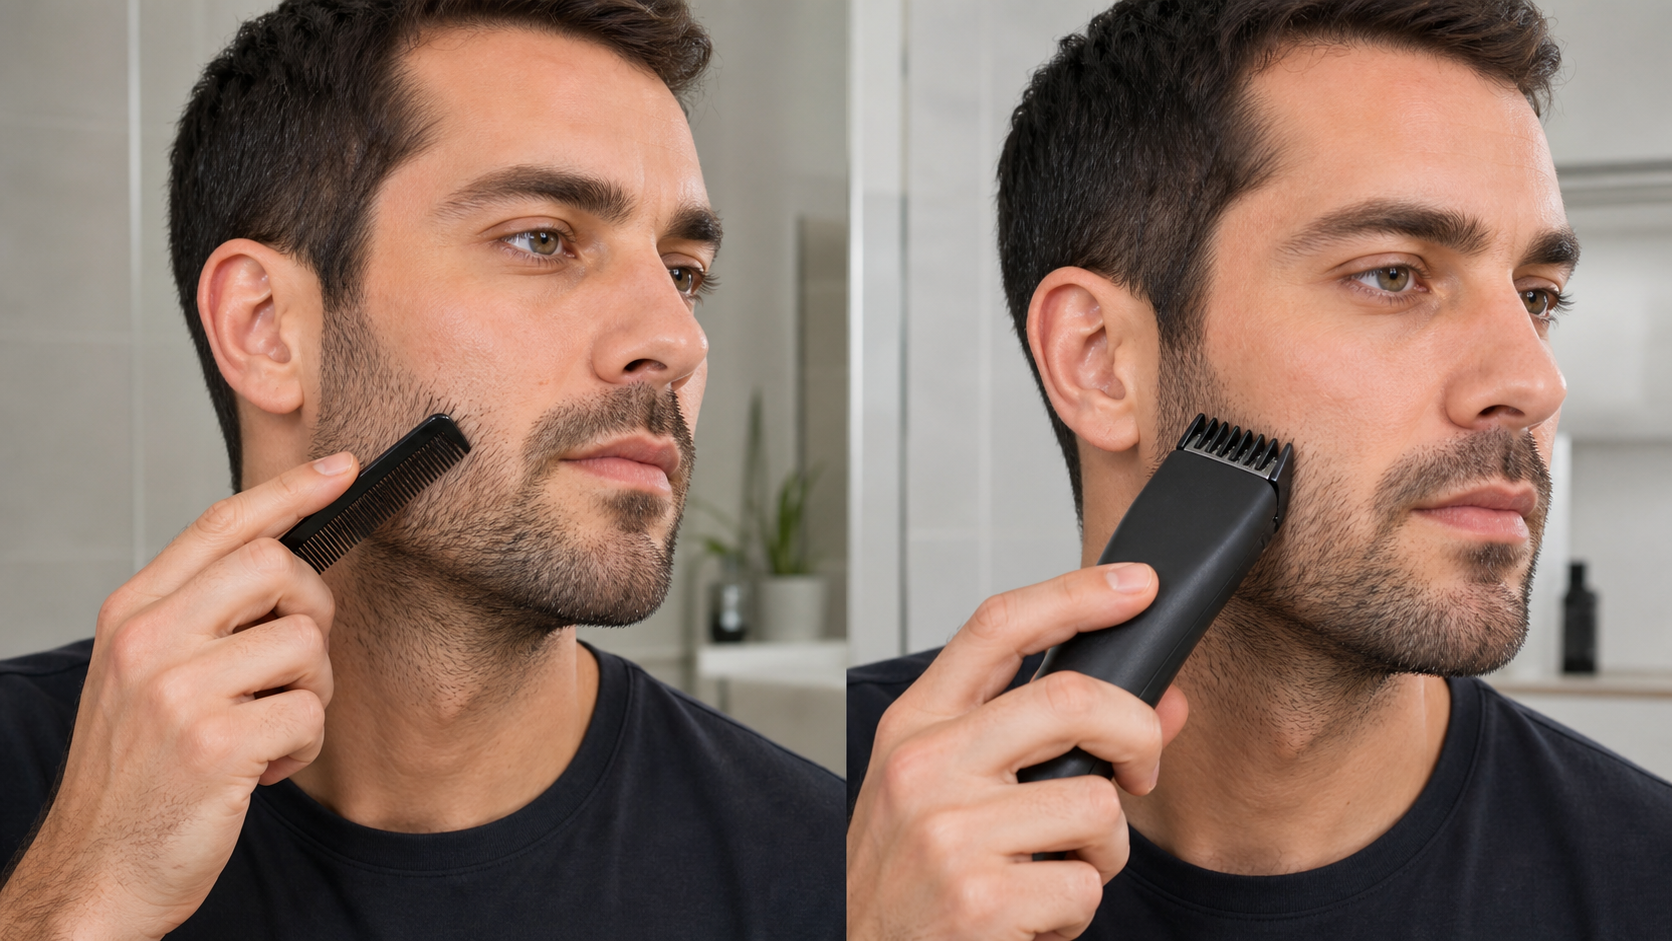
Make clean facial hair fully dry for a normal dry trim unless the exact manual specifies another method. Use even front and side lighting. With clean fingers, a small beard comb, or a soft brush, move the stubble lightly in several directions. The direction that feels smoother and makes the hair lie flatter is generally with the grain; the direction that lifts the hair is against it.
Divide the beard into practical zones: right cheek, left cheek, mustache, chin, each jaw section, and neck. Note transitions rather than drawing one arrow for the whole face. Under the jaw, turn your head in both directions and use a second mirror if needed. The stubble preparation guide provides a fuller checklist for drying, lighting, growth mapping, and tool inspection.
Do not scrape the skin or force a comb through irritated areas. Growth mapping is visual and tactile planning, not a skin test. If the skin is painful, broken, inflamed, or newly injured, stop and avoid treating a grooming article as medical guidance.
Step 2: Confirm the Guard and Starting Length
Identify the complete trimmer model and the millimeter value of the selected guard or dial position. Guard numbers are not standardized across brands. Attach the comb while the trimmer is off, confirm that both sides sit level, and check that the setting cannot move during ordinary handling.
Start longer than the intended final result, especially with an unfamiliar tool or a new blade. The stubble guard selection guide explains how to verify a model-specific setting and make a controlled test pass. A longer first setting preserves options if the grain map or apparent length changes after loose hair is removed.
Inspect the cutter and guard for bent teeth, cracks, packed hair, a loose latch, or a rocking fit. Switch the tool on away from the face and listen for normal operation. Stop for abnormal noise, movement, smell, pulling, or heat instead of trying to correct the tool with more pressure.
Step 3: Use a With-the-Grain Mapping Pass
A with-the-grain pass can be useful when you want to see how much the longer guard removes before committing to a more efficient finishing direction. Place the documented guard surface flat, apply light pressure, and move in the direction the local hair lies. Use one smooth pass over a small, easy-to-blend test area.
Switch off, brush away clippings, and let compressed hairs settle. Check the area from more than one angle. If scattered hairs remain longer, that does not automatically mean the guard is too long. The hairs may have stayed flat and passed beneath or alongside the cutting path.
Do not solve missed hairs by pressing harder, tilting the front teeth into the skin, or making many fast passes. Those changes make the effective guard geometry less consistent. The purpose of the first pass is information and controlled reduction, not proof that the final length is already even.
Step 4: Make the Model-Approved Finishing Pass
If the exact trimmer instructions call for trimming against growth, reverse the movement within that local zone. Keep the intended face of the comb flat against the skin, use gentle pressure, and make a slow pass toward the roots. Overlap the previous path slightly rather than cutting the same narrow strip repeatedly.
Work by zone. An upward pass may be against the grain on a cheek but with the grain on part of the neck. At a jaw corner or swirl, a controlled diagonal or across-grain pass may be needed if the manual permits multiple directions. Re-map the hair instead of assuming every missed strand needs the same upward stroke.
Remove accumulated hair from the guard during the trim as the cleaning instructions allow. Packed comb channels can stop hairs from entering consistently. Switch the tool off before removing or reseating an attachment, and keep a dry-use handle away from water.
Step 5: Compare Before Repeating
Brush loose clippings from the beard, guard, and neckline. Inspect in ordinary room light as well as close mirror light. Compare matched zones on both sides rather than staring only at one dark or dense patch. Hair density and color can make equal measured lengths look different.
Use the left-right stubble workflow to alternate matched sections and avoid overworking one cheek. There is no universal number of passes. Stop when each mapped zone has been covered consistently and obvious longer hairs have been addressed with the same verified setting.
If one side already looks shorter, stop trimming it. Correct only genuinely longer hair on the other side with the longer safe setting, or allow growth before the next full trim. Repeatedly shortening both sides to chase a lighting or density difference removes correction room.
How to Handle the Neck, Jaw, Chin, and Mustache
Neck: Map small sections because growth often changes direction below the jaw. Keep the guard flat and reduce pressure over curves. Do not use an automatic upward pass when the local hair itself grows upward.
Jaw: Turn the head so the skin surface is visible without stretching aggressively. A diagonal movement may follow or oppose the grain depending on the side. Treat the jaw corner as a transition zone rather than forcing a cheek direction around it.
Chin: Dense or projecting hair can look longer after the same guard setting. Make controlled passes from more than one permitted direction, clearing the guard between them. Do not shorten the setting merely because the chin appears darker.
Mustache: Use the attachment and movement specified for the tool, keep the guard stable, and protect the lip by using light pressure. If the attachment blocks visibility or will not seat fully, stop rather than trimming without a guard by default.
Common Direction Mistakes
- Assuming all facial hair grows downward.
- Treating “with the grain” as a complete even-length method for every guarded trimmer.
- Using an upward pass everywhere without mapping upward-growing neck hair.
- Pressing harder when a flat hair is missed.
- Tilting the guard so only its front teeth touch the skin.
- Repeating one narrow strip before brushing away clippings.
- Changing to a shorter guard when the real issue is direction or packed hair.
- Using bare-blade edging as though it were a controlled stubble-length pass.
Stop Conditions and Tool Boundaries
Stop if the guard is cracked, loose, tilted, or changes setting; the blade has bent or broken teeth; or the trimmer rattles, stalls, pulls, shifts, smells unusual, or becomes unexpectedly hot. Also stop for a damaged cable, plug, charging port, swollen battery, cracked housing, or liquid exposure outside the model rating.
Do not tape a guard in place, reshape it with heat, substitute a similar-looking attachment, open a sealed handle, or continue over painful or broken skin. Use the manufacturer’s parts and support route. The hair-pulling troubleshooting guide covers cleaning, blade, guard, and stop checks when direction changes do not solve pulling.
Frequently Asked Questions
Should I trim stubble with or against the grain?
Use a with-the-grain pass to map growth or make a conservative first reduction when appropriate, but many guarded trimmers are designed to cut most evenly against growth. Follow the exact model instructions and keep the guard surface flat.
Why does with-the-grain trimming leave long hairs?
Hair can lie down in the same direction as the guard movement and enter the cutter less consistently. Brush away clippings, remap the local growth direction, and use the model-approved finishing direction rather than pressing harder.
Can every part of a beard be trimmed in one direction?
Usually not. Cheek, jaw, chin, mustache, and neck hair can grow downward, sideways, upward, or in swirls. Treat each zone according to its local grain while using one verified guard setting.
Does trimming against the grain make stubble shorter than the guard setting?
The guard is intended to control remaining length, but pressure, tilt, repeated passes, attachment fit, and hair direction can affect the result. Start longer, keep the documented guard surface flat, and test a small area.
Sources and Claim Boundary
Primary references reviewed in July 2026 are the Philips OneBlade trimming instructions, Philips groomer manual, and Philips irritation guidance linked above. This page explains a generic grain-mapping and guarded trimming workflow. It does not report hands-on testing, guarantee an even result, diagnose skin conditions, or replace the exact model’s direction, attachment, cleaning, lubrication, wet-use, charging, and safety instructions.
